ralf | January 31, 2012 | Annual, Cosmographer, overland
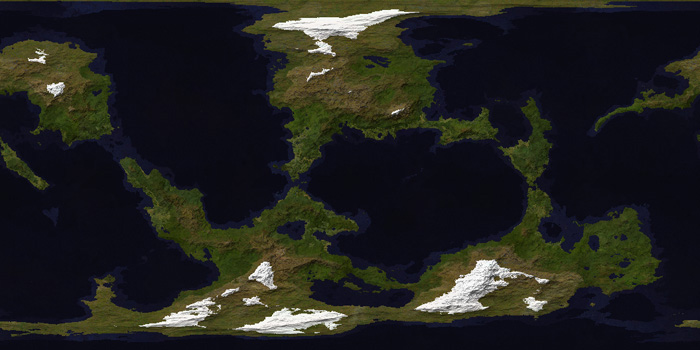
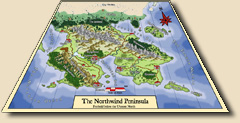
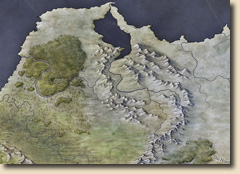
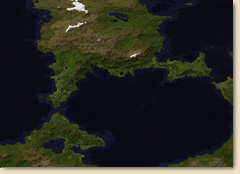
The February issue of the Annual 2012 elaborates on a style introduced in Cosmographer 3: The satellite view overland map. This large-scale, straight overhead style evokes the view a satellite might have on the landscape below. Seamlessly-tiling textures are smoothed together through sheet effects to create the image of an unbroken, natural landscape.
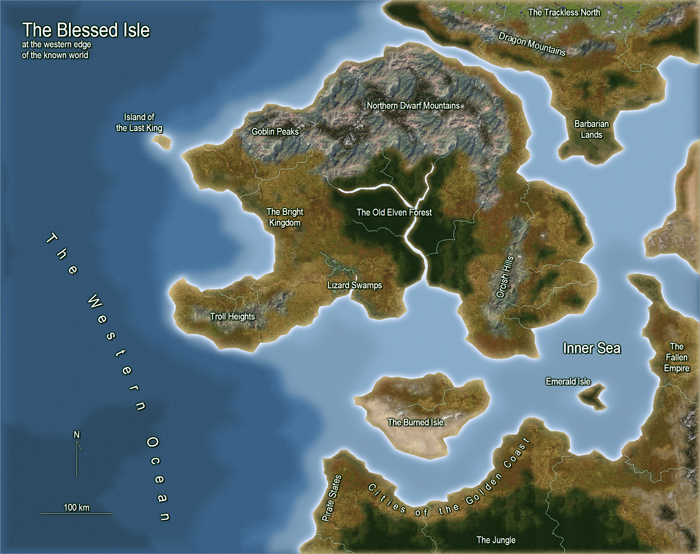
The source for the textures is taken from public domain images made available by NASA through their Visible Earth website. The texture are carefully crafted from these originals and made into CC3 bitmap fill styles.
While it served as an inspiration, Cosmographer 3 is not required to make full use of this style. See the Annual 2012 site for more information on this style.
Check out this large-scale (A2) example map created in the Annual Overland Satellite style.
The February issue is available for subscribers now!
2 Comments
Simon Rogers | January 30, 2012 |
News
The Cartographer’s Annual 2012 subscription is out now. See previews of January, February, and March, and the the Annual 2012 site.
The Cartographer’s Annual 2011 is out now – read a summary of the monthly content here.
Articles
Art Preview
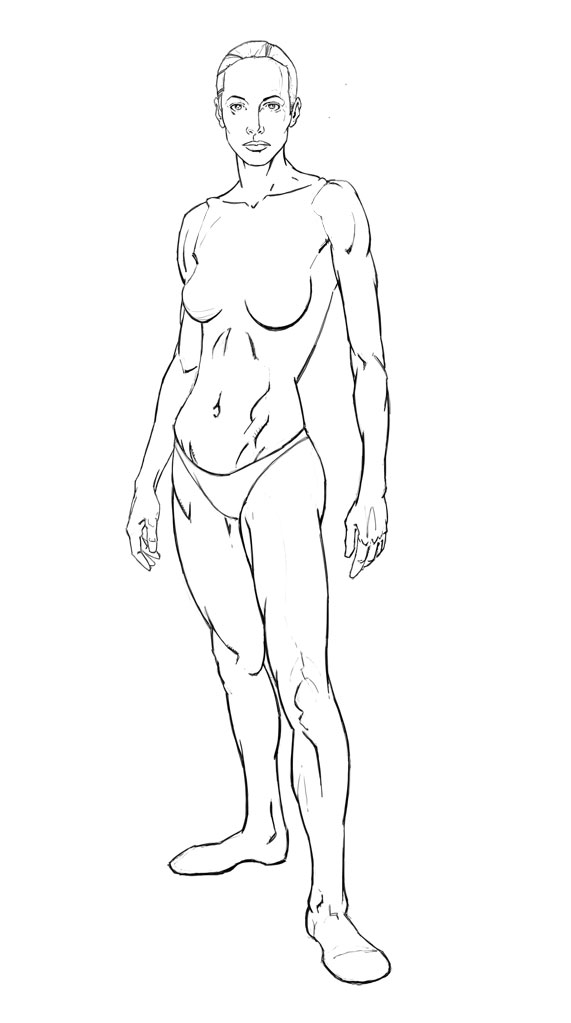
This is one female paper doll for Character Artist 3.
5 Comments
Simon Rogers | January 30, 2012 |
We are considering to organize a crowd-sourced map project, to release under a non-commercial license. What do you think it should be? Here’s one idea:
A crowd-sourced interactive atlas
We could start with a basic world or continent map, perhaps created in FT3, then distribute sections for detailing. Or perhaps, people could draw different maps from the perspective of different characters / races in the world. You could submit other maps (cities, inns, etc) for inclusion in the Atlas, and detail areas which interest you.
Alternatively, we could create symbols sets, drawing tools, or even an add-on from crowd-sourced materials.
Post your ideas in the comments, and let us know if you’d be willing to contribute, edit or organize.
21 Comments
Simon Rogers | January 27, 2012 |
Every year, we bundle up our annual subscription and offer it as a singleeasy install, and it’s available now.
I scoured the readme files and found that our latest collection include:
- 10 map-making styles with 486 drawing tools.
- 108 fill styles and textures
- 28 templates
- 45 maps
- 2238 symbols in 41 catalogs
- 55 pages of map-making guides
- 18 effect settings, new commands, a font Fractal Terrains 3 textures and a converter
The style pack Overland Perspectives gives you a beautiful vector drawing style set up to create perspective landscape maps.
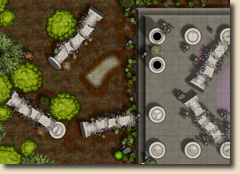
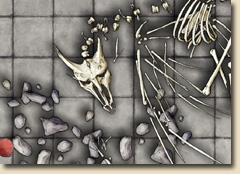
The symbol pack Dungeons contains more than 1500 new high-detail bitmap symbols for your dungeon and outdoor floorplans.
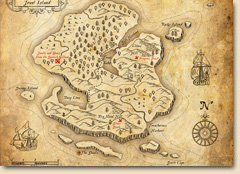
The style pack Jonathan Roberts Overland contains a complete new overland style created by fantasy cartographer Jonathan Roberts.
The style pack 1930s Travel Guide contains a new floorplan drawing style for maps reminiscent of 1930s travel guides.
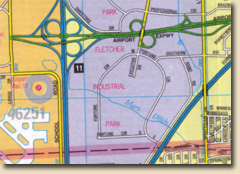
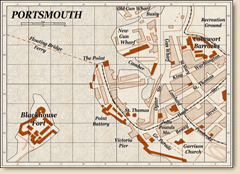
The style pack Modern Road and Street Maps contains a new drawing style for modern road atlas style maps.
The style pack Jon Roberts’ Dungeons contains a new drawing style for dungeon floorplans and battlemaps.
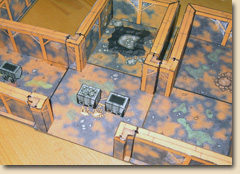
The map pack Mine Diorama contains a new complete, customizable diorama set.
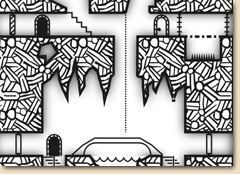
The style pack Vertical Dungeon Geomorphs contains ready-to-use geomorph tiles and the style to create more of your own.
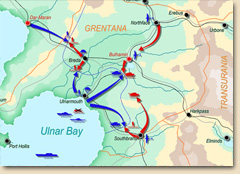
The style pack Miltary Operations contains a new style for modern and near-future operational maps.
The style pack Treasure Maps contains a new style for local-area player handouts and treasure maps .
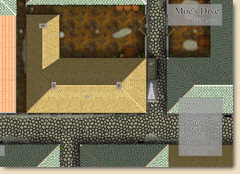
The map pack Moe’s Dive contains two high-detail maps and a composite CD3/DD3 template.
The style pack 1930s Street Maps contains a new drawing style for pulp and horror games set in the 1930s.
The tool pack Climate Textures contains a set of seamlessly tiling bitmap textures for use in FT3 and CC3.
1 Comment
Simon Rogers | January 10, 2012 | business
This post discusses business information which will probably not be of interest to most readers. Another article will cover our product development plans for 2012.
The Economy
 It was a tough time for the world economy, including the Eurozone, the UK and the USA, our primary market. My view is that while the economy has a negative effect on sales for many businesses, the effect of the economy on individual businesses is less pronounced than other factors, some of which are under the control of the business owners. Other businesses (Domino’s Pizza for example) positively benefit from downturns. Psychology suggests that we are much more likely to attribute positive results with our own endeavours, and negative results with external factors. So, anything I say here is pretty much speculation. Take the salt provided.
Our Sales
So this year, our UK sales in pounds were within a gnat’s whisker of 2010 and 2009, when adjusted for inflation. This is pretty good. I’d like to say it’s all down to our business choices, despite the downturn, but I think there is an element of the Domino’s Pizza about the roleplaying hobby – it’s one of the best-value pastimes there is. People get hours and hours of use of our of software and their games, and it’s a lot cheaper than going out. I’ve said facetiously that the RPG industry slogan should be “There’s never been a better time to enter a world of fantasy.”
Only a neglible fraction of our sales are through distribution, and this hasn’t changed. However, retail sales are disproportionately CC3, so it’s still worthwhile continuing this. Another interesting phenomenon is that while annual sales of CC3 (our entry product) increased by 6%, the average sale declined slightly as if to compensate.
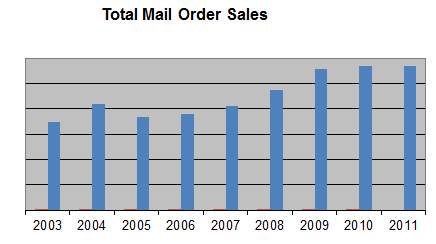
We did release a new product – FT3 – but the upgrade was modestly priced, reducing our potential revenue, and because it’s such a widely accepted product among CC3 users, it was mainly upgrades. 2012 will be different – we’ve got three products in the pipeline.
Ralf says that convention sales are down a bit, but that overall the quality of maps has increased. Ralf and I think that the size of the table top roleplaying game market is stable, or even shrinking, but that the existing participants are older, wealthier and more committed than before. I am hoping that market leader Wizards of the Coasts new version of Dungeons and Dragons will expand the market, as that helps everyone.
The Website
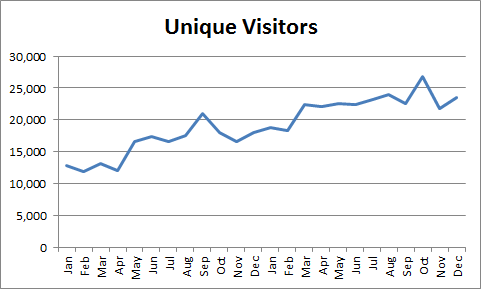
Site visits increased about 30% since 2009, as has the average time on the site, the number of pages per visit. We achieved more than 450,000 unique visitors in 2011. We did a lot of work earlier in the year using Google Analytics to increase our conversion rate; it definitely increased as result, but nonetheless the conversion rate was lower than in 2010. I suspect that has more to do with the nature of the visitors, though I speculate that people are taking longer to decide and are spending their money more carefully. We updated our copy rather carefully, too, and have plans to revamp the website based on our recent poll.
Other RPG Cartography Companies
It remains true that we are the only company producing cartography software for the RPG industry full time.
In our tiny industry, we think of other rpg map-makers as colleagues rather than rivals, so we were sad to see that, according to forum posts, Dundjinni has not been on sale for while. There has been no update since March last year. We’ve tried to reach the owner, Mindy, to no avail. It’s sad particularly because of the excellent community which built up around the software, creating new art which the CC3 community could also use. (This situation may change – I hope it does – so check their website to make sure.)
NBOS continues to produce Fractal Mapper, and Ed Diana released a new version of Astrosynthesis which he made compatible with the latest Fractal Terrains 3.
Miscellany
- There is a definite seasonal sales trend over the years. The spikes for product releases just about even out, though the Annual subscription helps our December sales disproportionately. I’d be very interested to hear if this pattern is repeated in other related companies.
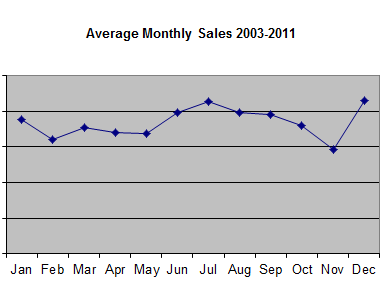
- The relative sales between the UK, USA and the rest of the world have remained unchanged now for at least three years.
- The proportion of download sales has increased from about 25% to 30% from 2010 to 2011
- We’ve sold to 92 countries in the past two years including Cameroon, Albania, and Reunion.
11 Comments
L Lee Saunders | December 26, 2011 | development, feedback, Random City Generator
As I sit here in this cozy little room talking quietly with my wife’s family, as her mother lies sleeping in her medical bed, I began to think about the broader meaning of family and community. I’ve always realized in a cursory way, that the Campaign Cartographer community was in many ways a family. But, until recently I had not fully grasped the true meaning of that fact.
Let us back up about a year. I had recently approached Mark and Simon about producing a city generator for them. We had determined that an April/May timeframe for completion would be just about right and I happily went about the task of creation.
Then my wife’s mother’s cancer returned in March. At first we didn’t realize it was the cancer but all of a sudden, my wife was busy taking care of her mother. Off to the doctors, taking over her bills and doing all of the household chores her mother used to do for herself but could no longer do them. I, of course, being the good husband, started doing all the little things that she no longer had time to do.
That seriously cut into my evening coding, especially in the middle of spring lambing season!
Well as you can guess, the month of May flew by and I felt embarrassed that I had missed my deadline. “I had given my word!” I never forgot my obligation, it was just that every day I would tell myself after getting all the chores done, maybe after driving back from the city where I picked up my wife from her mother’s house and took her out to dinner, that I could rest today and tomorrow would not be so hectic and I could get back to programming. And, since I was going to get it done, there was no need to tell Mark or Simon about my difficulties.
Here is my point about family and community. Unlike the rest of the world, you pull family and community closer to you in times of trouble. To the wide world your troubles are your own and since everyone has troubles, you just keep them to yourself. But, for family and community – to keep them in the dark on your troubles is not fair to them. They need to know so they can help.
So I screwed up my courage and finally contacted Simon explaining why I had not only missed the deadline but feared that I would not be finishing the program anytime soon. Now, you have to understand that ProFantasy is a business. It lives and dies by the products it makes and the reputation it has with its user base. They had announced that I would be creating such a tool for them and since then I had failed to finish it. In my mind, I had done them some amount of harm.
I should not have been worried. Simon not only told me not to worry about it, but asked if there was anything they could do.
Family, I should have known.
So that is why I am writing this to you now. After a second failed round of Chemotherapy/Radiation and now hospice, I wanted to tell the greater Campaign Cartographer community that I’ve not forgotten my promise to you. I may not get back to it soon, my wife will need a lot of help cleaning up and organizing the estate, but I promise I’ll finish when I can.
And I know that you will understand. Like I said, Family.
7 Comments
ralf | December 20, 2011 |

You can now subscribe to the Cartographer’s Annual 2012 from the Profantasy web store. Check out previews for the first three issue on the Annual 2012 page.
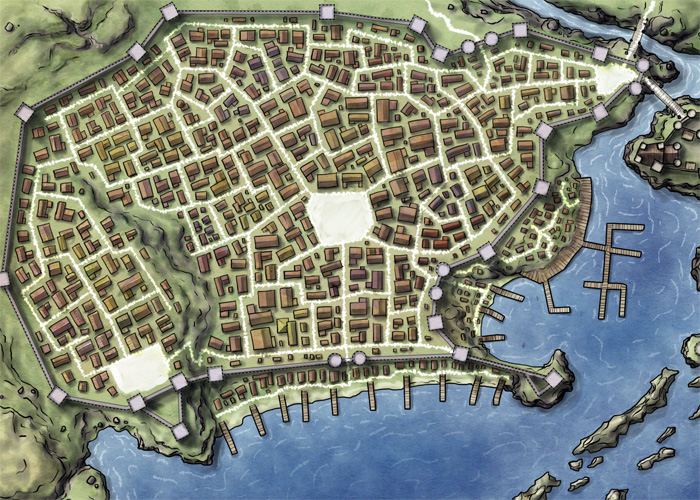
Preview of the March Issue: Jon Roberts’ Cities
6 Comments
ralf | December 16, 2011 | Campaign Cartographer, Fractal Terrains, overland
The final Annual issue for 2011 is here: A combined texture pack for Fractal Terrains 3 and Campaign Cartographer 3. Give your FT world a new look with the textured climate shader or draw climate maps of your regions in CC3.
Stay tuned for the Cartographer’s Annual 2012!
Comments Off on Final Annual – Climate Textures
Simon Rogers | December 9, 2011 |
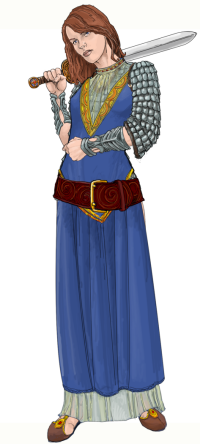 Usually we only manage one product a year other than our Cartographer’s Annual, but 2012 is shaping up to be quite prolific. Nearly all the Symbol Set 3 art is in, Perspectives 3 and now Character Artist 3.
Character Artist 3
Character Artist Pro’s utilitarian art work is looking long in the tooth, so we want to supplement it with a complete new set for Character Artist 3.
After a long search, we’ve commisioned artist Rich Longmore to create symbols for Character Artist 3. When creating characters, you’ll be able to hide or show layers to vary the detail, so a figure can be used as a detailed character portrait or a on a standee. There will be three versions of each gender, giving a range of body type and we’ll include a greater range of facial features, too.
Perspectives 3
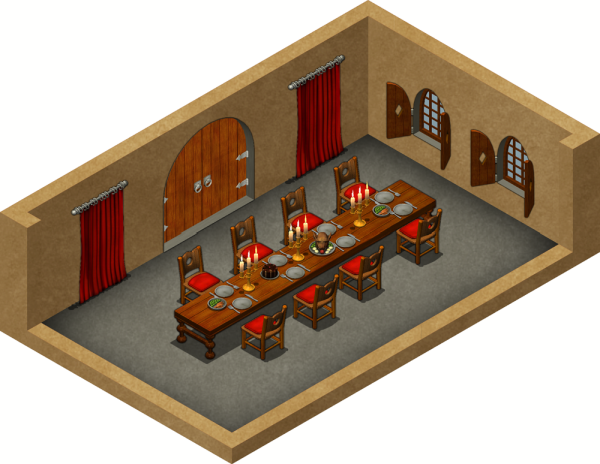
The development work for Perspectives 3 is complete, as is the artwork, so it’s a matter of adding textures, putting it all together and testing it. Again, we are taking advantage of CC3’s effects and raster artwork to give an attractive alternative to the vector art we already provide. The new version shades walls and other surfaces so that they look properly lit.
Symbol Set 3
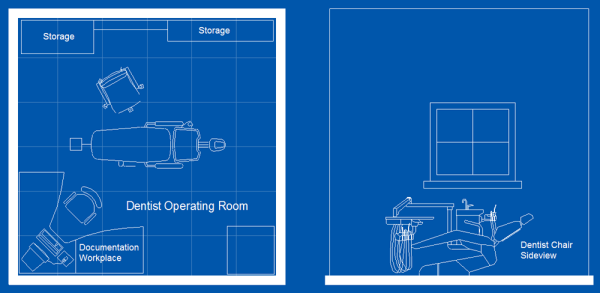
Jon Roberts is half way through the symbols for his set – all the others are done.
13 Comments
ralf | November 24, 2011 | Dragonmeet

This Saturday (November 26th) is Dragonmeet time again. Profantasy and sister-company Pelgrane Press (both long-time sponsors) will be there, at London’s friendliest role-palying convention.
You’ll find us as you enter the dealer’s hall immediately to the right. I’ll be there, and if the Royal Mail delivers, so will the Fractal Terrains 3 boxes – and I’ll of course be happy to demo it. Stop by if you want a peek, buy or upgrade to FT3, or just want to pick up your pre-ordered FT3 box (bring your order number!).
Comments Off on Come to where the Dragons meet…


 It was a tough time for the world economy, including the Eurozone, the UK and the USA, our primary market. My view is that while the economy has a negative effect on sales for many businesses, the effect of the economy on individual businesses is less pronounced than other factors, some of which are under the control of the business owners. Other businesses (Domino’s Pizza for example) positively benefit from downturns. Psychology suggests that we are much more likely to attribute positive results with our own endeavours, and negative results with external factors. So, anything I say here is pretty much speculation. Take the salt provided.


