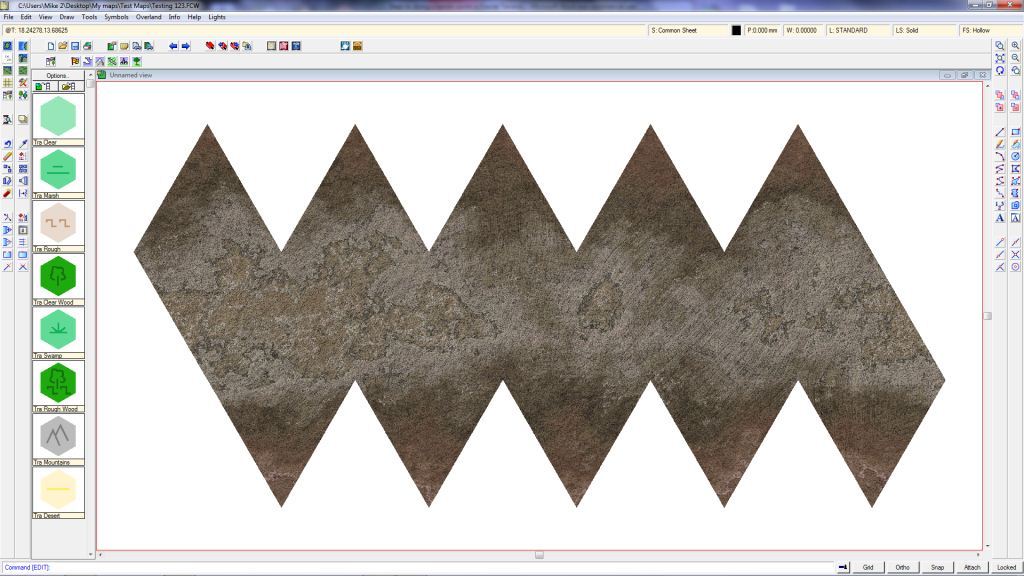
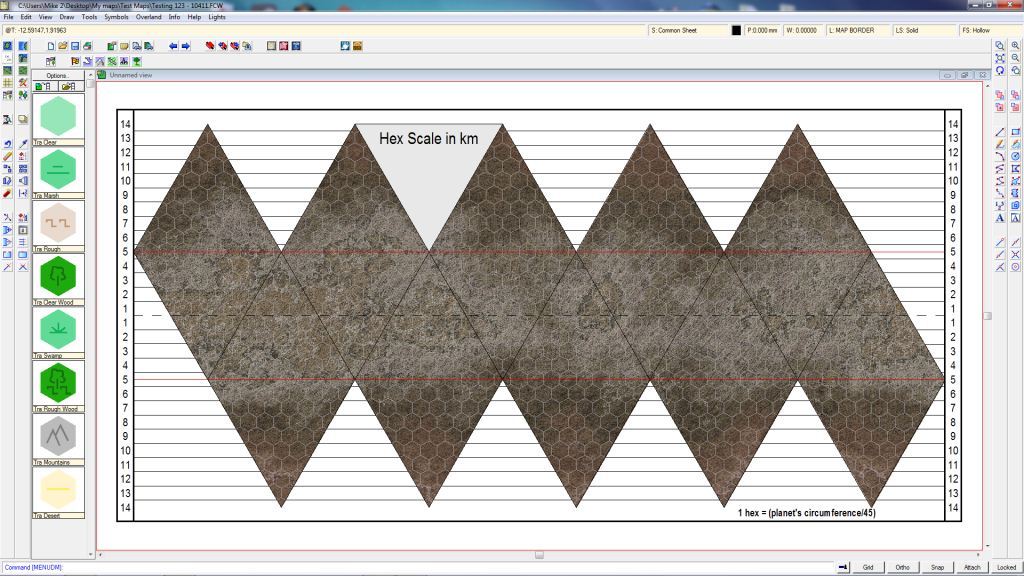
This is a follow-up to Creating a Fractal Terrains world with Terraformer Part 1.
You can download the whole tutorial as a PDF – Steps to doing a barren world in Fractal Terrains.
Moving the drawing to Campaign Cartographer 3 / Cosmographer 3
Step 10 – From here on out, I will be using CC3. This is a great program that I have come to rely on to create all of my maps. I should note that the steps outlined here are taken directly from the “Terraformer for Fractal Terrains Pro Users Manual” created by Bill Roach. It’s an excellent guide, and I would recommend that anyone using Fractal Terrains pick this up as a reference source. The guide is available from the Registered User’s Area.
Step 11 – Now that I have CC3 open, I need to find the file that I just saved in FT. In this case, I know I called it “Testing 123” and I know I saved it in the “My Maps” folder, so it was easy to find. I created a separate file folder called “Test Maps” to try out different styles and options on my drawings, and I find they end up to be nice templates later on. You’ll notice that there is a preview pane to the right of the file listing that apparently shows a broken file. Don’t worry about it, it isn’t broken. 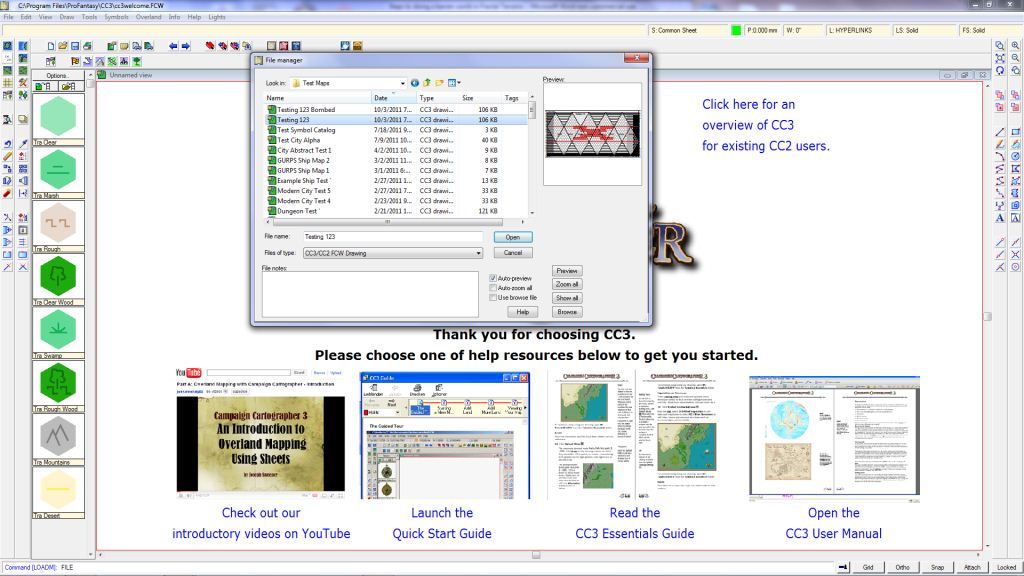
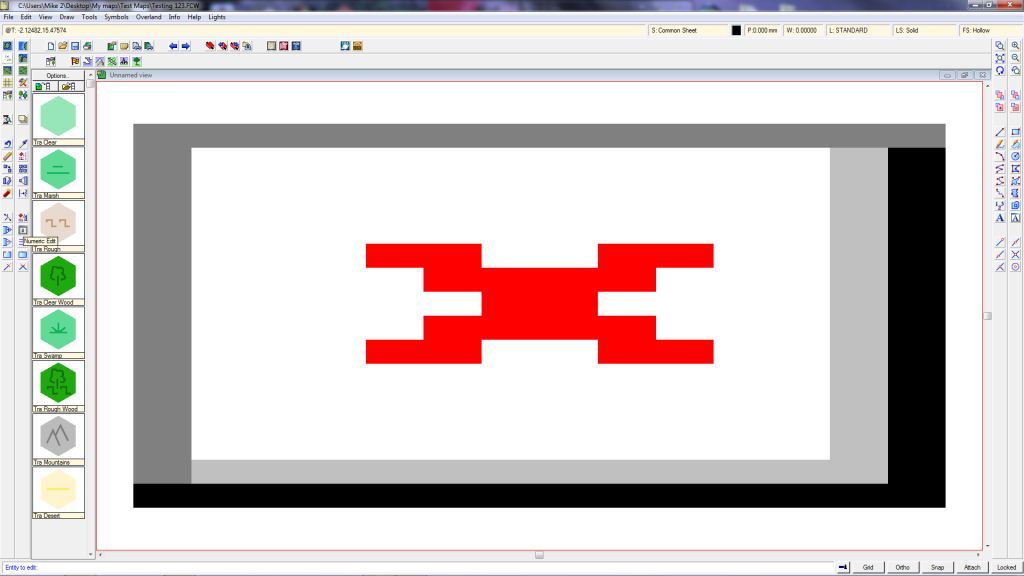
Step 12 – Once the file is selected, the preview was indeed showing what shows up on the screen. I’ll fix that in the next step.
Step 13 – This step can seem a little bit difficult, but once I got the the hang of it, it was pretty easy to remember. To complete this step, I go to the input box in the upper right showing “L:Standard” and left click on it. Left clicking brings up the menu box shows in the picture below. I think select the “Standard” (which is a “Layer”, not a “Sheet”) and then use the “Hide all” button to hide all other layers from view. I know they are hidden when an “H” shows up in the middle column, and it is good to just double check that before moving on. 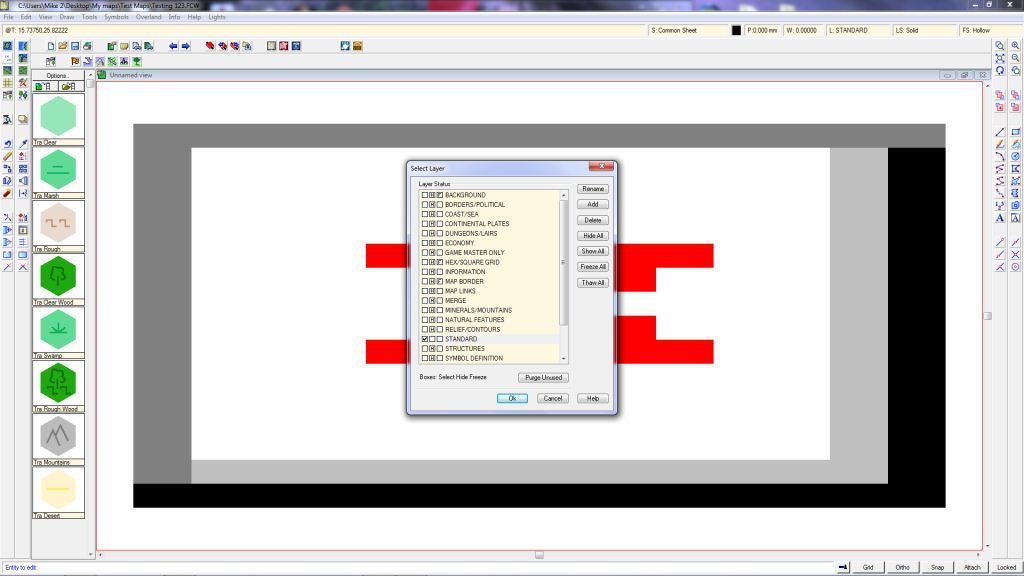
Step 14 – Now that I have a clean map, I then move to the left of the CC3 screen, and find the “Numeric Edit” button. I click it and then move my mouse over the view area.
Step 15 – I next move the pointer (which is now a square) to the UPPER LEFT corner of the grey box surrounding my view window. I always use the OUTSIDE corner, not the inside corner. You can see the small square that is my pointer in the correct position in the upper left. I press the left mouse button to activate that command. 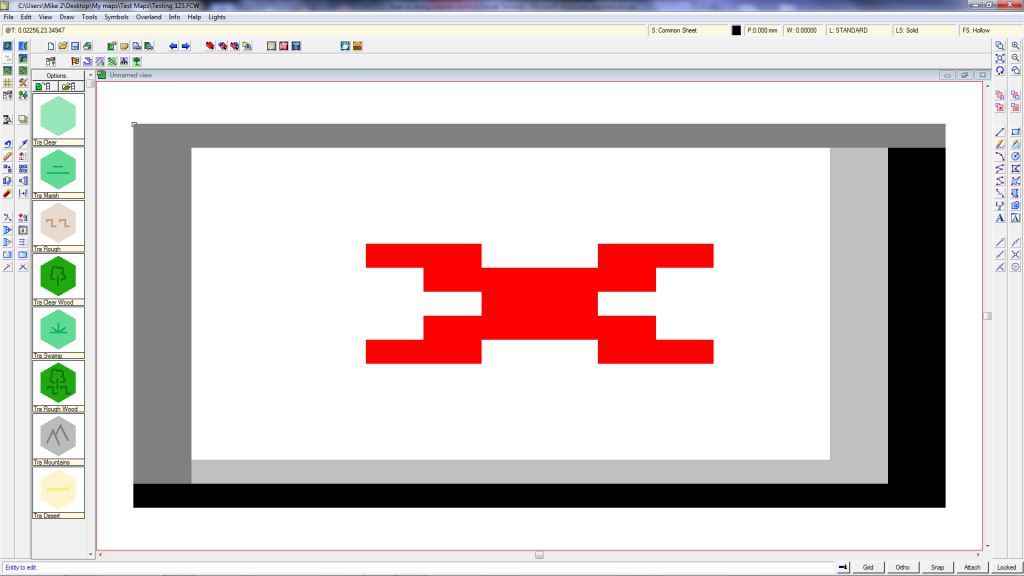
Step 16 – When I pressed the left mouse button in Step 15, a file folder view opens up. This is asking what map I want to bring into my map. Again, since I know I saved my map into the “My Maps/ TestMaps” directory, and I labeled the file “Testing 123”, its pretty easy to find. I then select the map that I am looking for and hit the “Open” button. 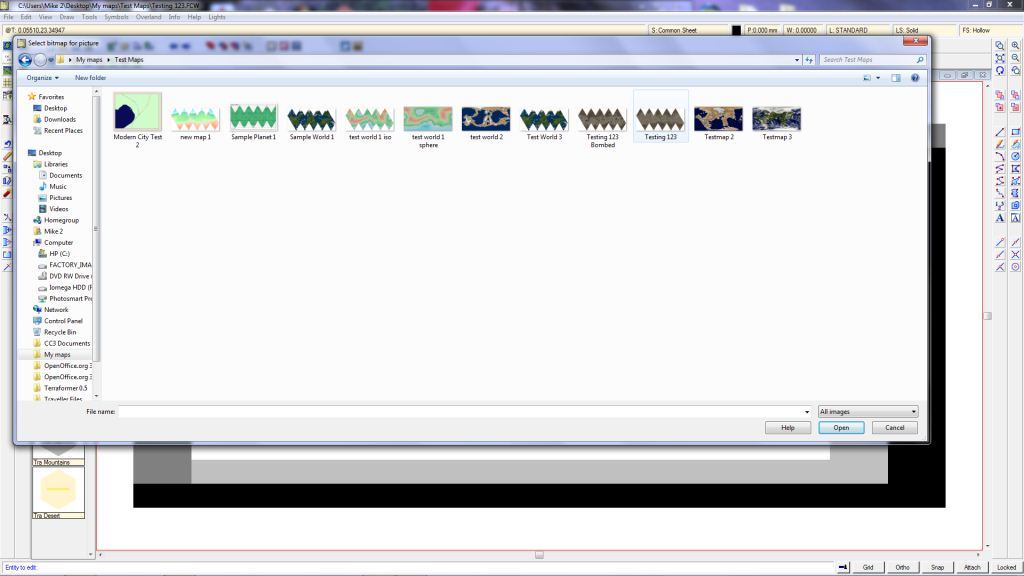
Step 17 – When “Open” button is selected, a dialogue box opens with options. I just hit the “OK’ button” as there aren’t a whole lot of things I want to change here. I don’t think I’ve ever really messed around with the settings in this box. 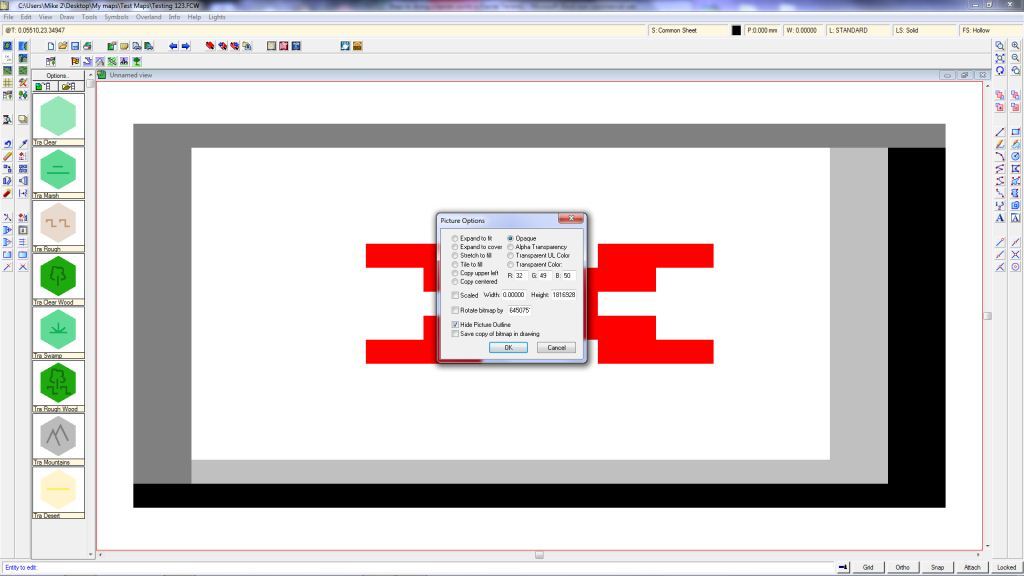
Step 18 – And there is the background for my map! Pretty simple actually, once I figured out the mechanics of doing it in CC3.
Step 19 – The next thing that needs to be done is to turn back on all of the layers. I do this by selecting the input box in the upper right again and hitting the “show all” button”. Then just hit “OK”. 
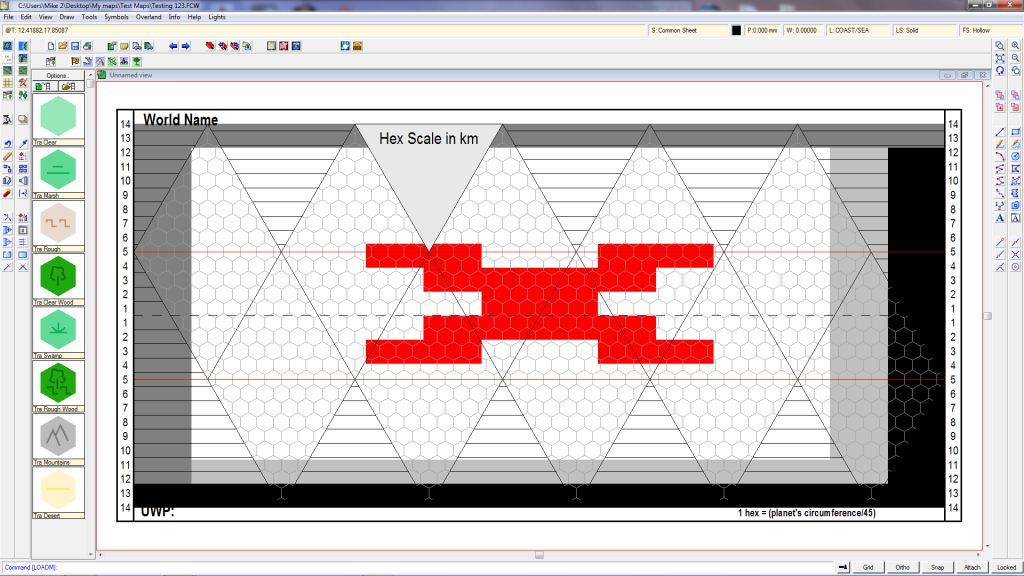
Step 20 – As you can see, I am in the home stretch as far as getting this world completed. The only things that I don’t like at this point are the text in the upper left (World Name), and lower left (UWP). Since I don’t want my world to say “World Name” and I am not using UWP’s, they need to go. The easist way to do this is to go back into the layers and turn some off again. To accomplish this, I go back in and turn off everything except the “Map Border” layer, so I can get at the text. If I don’t turn the other layers off, when I try to select the text, I sometimes capture a lot of other items that may be hidden in the background. I really don’t want to delete some of the other layers, so hiding them is much easier. 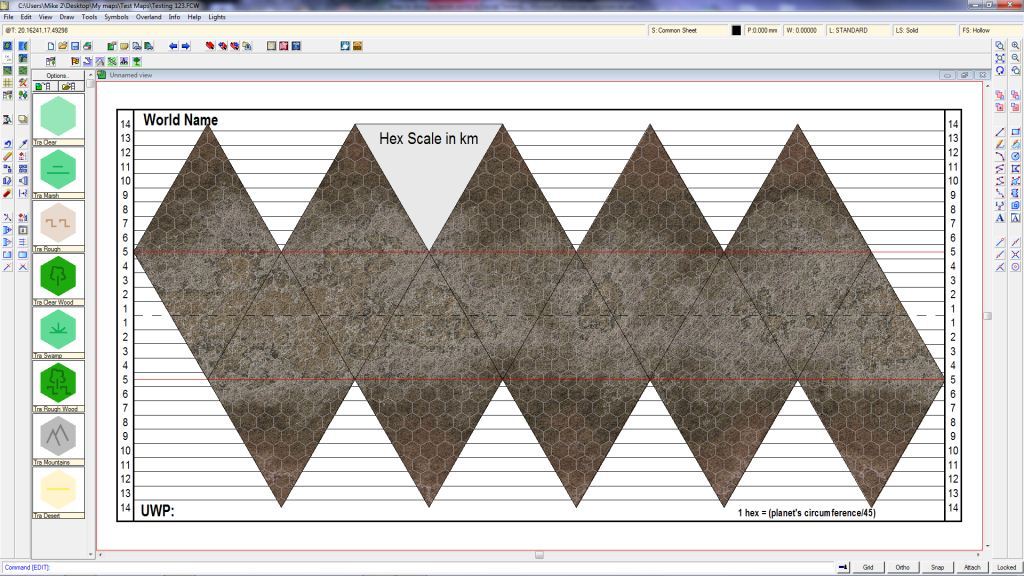
Step 21 – Its definitely different, but I can see now that everything other than the “Map Border” is now off. Next, I select the “Erase” option along the left toolbar (the one that looks like a pencil eraser) and highlight the text I want to remove. 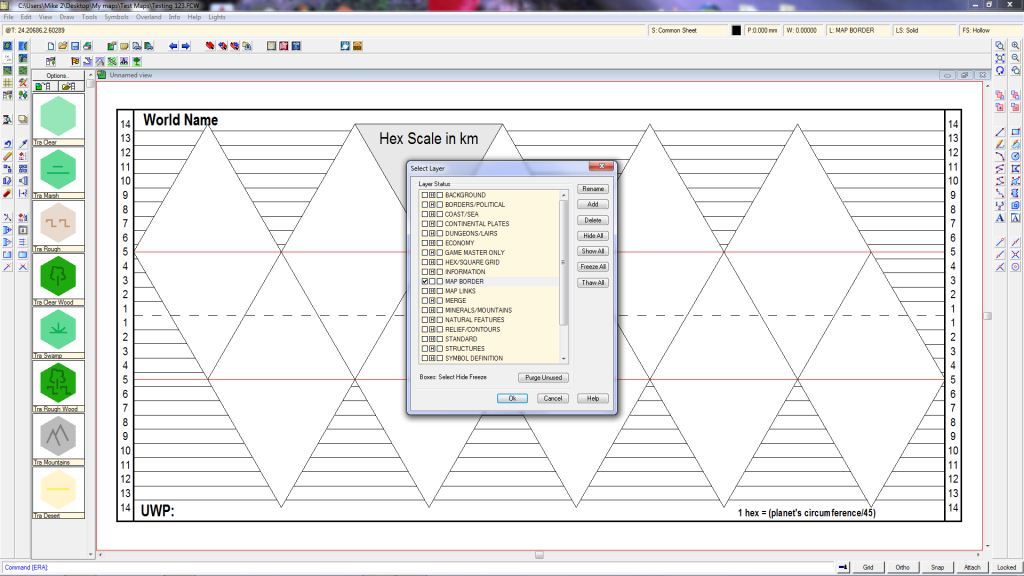
Step 22 – Here I am highlighting the text. As I mentioned previously, I need to be careful not to capture any other lines or items, which is why I turned off the other layers. I can also zoom in on the text to be more precise. 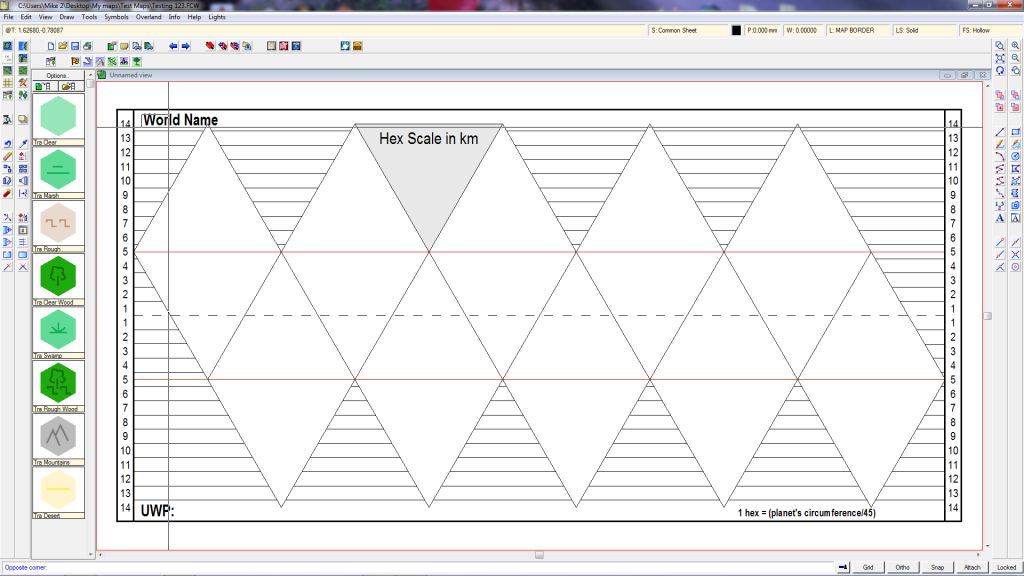
Step 23 – Once I select the text, it changes to transparent, meaning it is ready to be deleted. 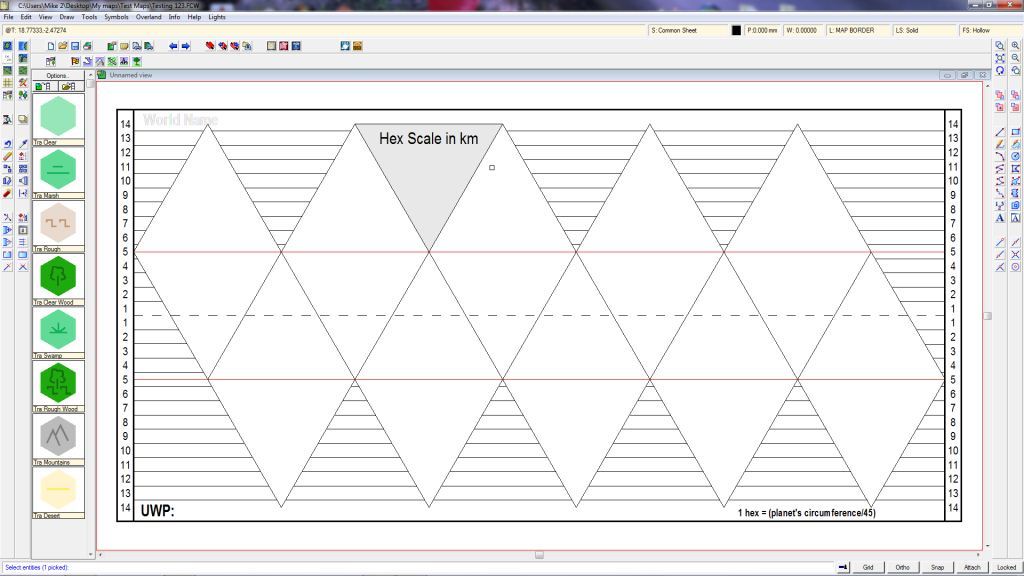
Step 24 – Once I have highlighted all the text, I just select “do it” and all of the text I wanted to remove disappears. I can still see the text showing through, but it is after I click the redraw button. Now it is time to add everything back in. As a side note, this is now the time to add new text, if I wanted to do that. At this stage, I really don’t want to add any other text to my figure. 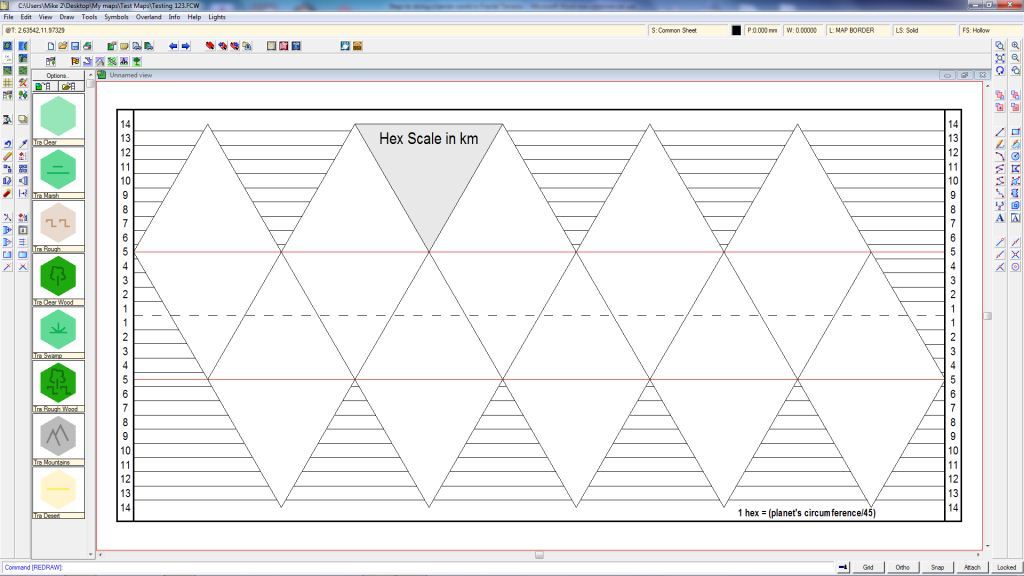
Step 25 – This is the view with all of the layers turned back on. It looks pretty good, but how do I get it to save and print out?
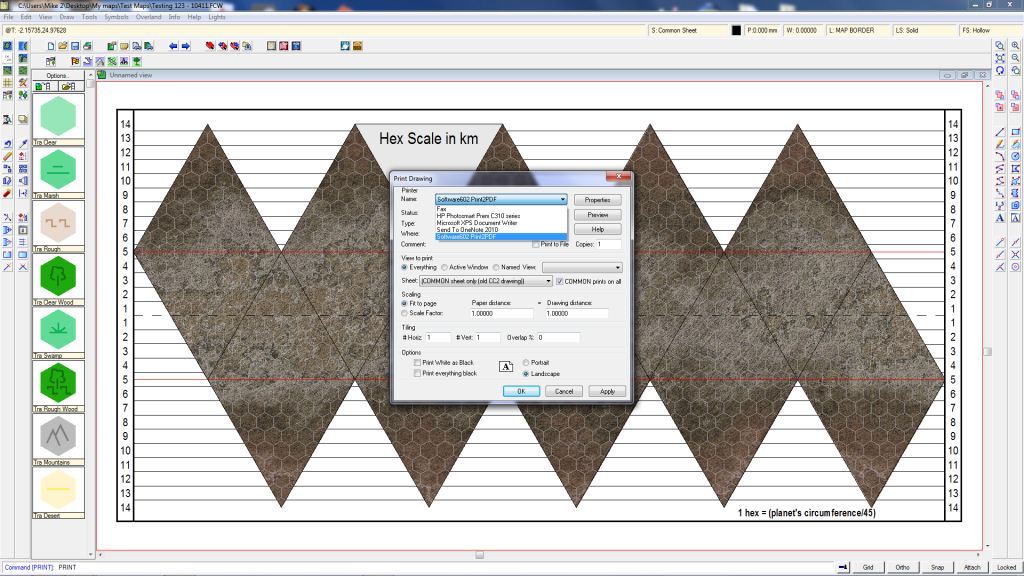
Step 26 – To print, I use a commonly available PDF converter, right now it is “Print2PDF”, which can be found on CNET. There are others out there, but I like Print2PDF as it is easy to use. The file size is pretty large though, around 7 Mb or so. 