Simon Rogers | January 14, 2014 | cartographers, CC3, CC3 Plus, development, history, Mike Schley
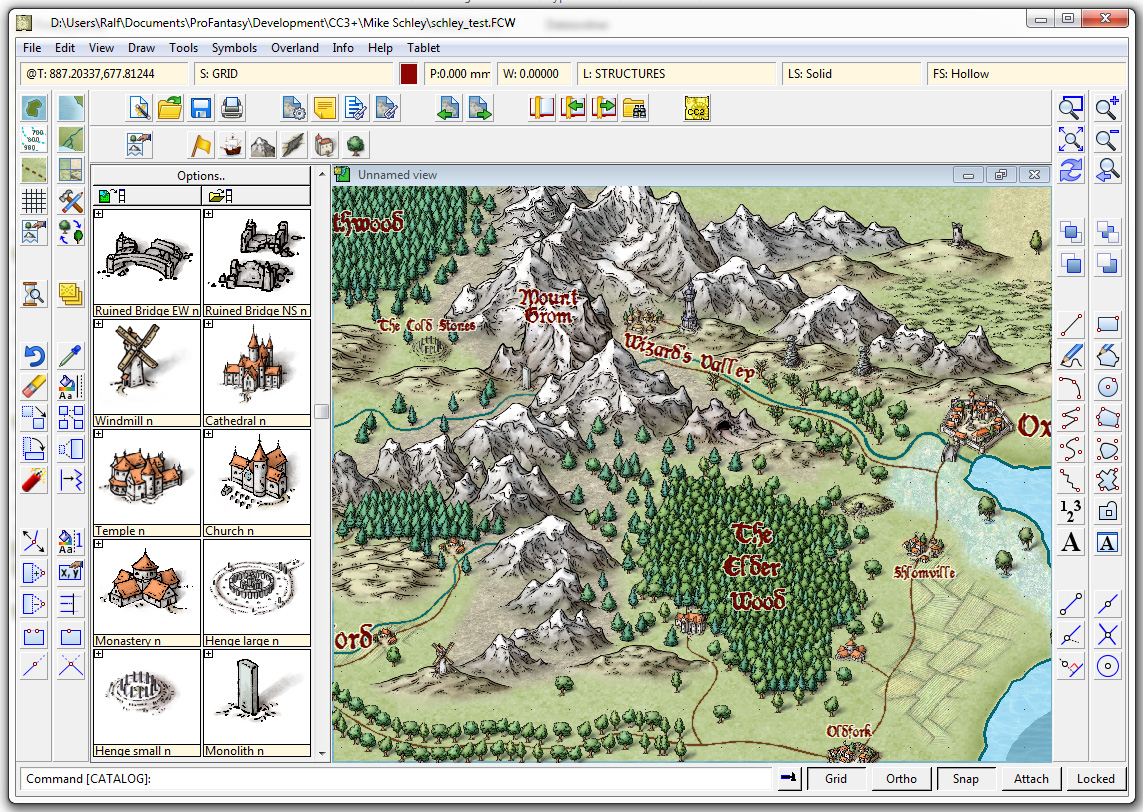
CC3+ incorporates a new complete symbol set from expert cartographer Mike Schley. We’ve worked with a number of professional cartographers to create Campaign Cartographer styles, and the process is now pretty slick. We are either adapting an existing style (as with our recent World War 2 annual issue) or creating one from scratch. This is the process:
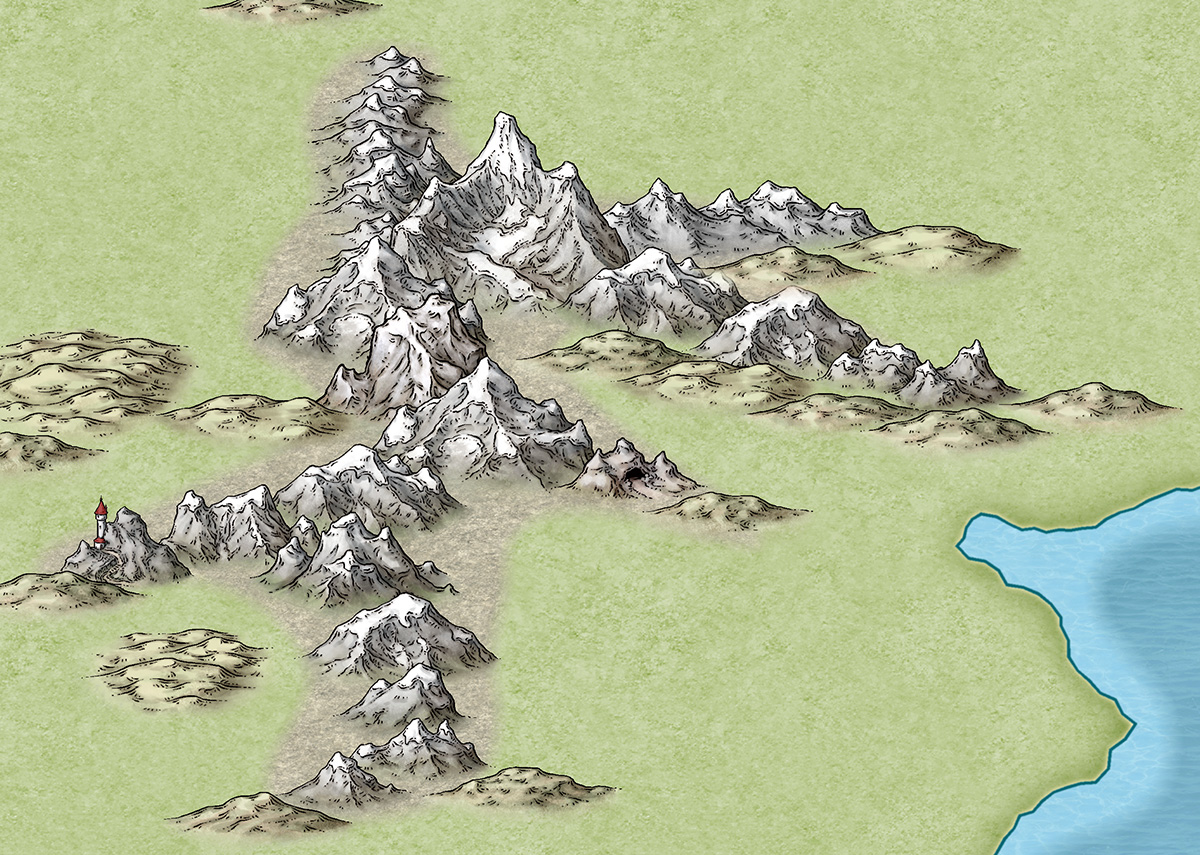
1. We take a cartographer’s existing map, or the cartographer develops a new map style, always by creating a small map sample. Here is an early one Mike Schley produced for the new CC3+ overland style.
2. Once we’ve approved this, the cartographer adds more symbols and tools to the example map, and then does more as stand alone files. For a full ad–on or symbol set, this is a very big job. Usually the cartographer works in Photoshop, with layers on, so we can easily extract elements to create CC symbols and drawing tools.
3. Once the map-maker has finished, Ralf duplicates the style in CC, developing the set of drawing tools and adding effects to match the original.
4. Ralf creates the full set of symbol catalogs in all resolutions, with varicolour areas.
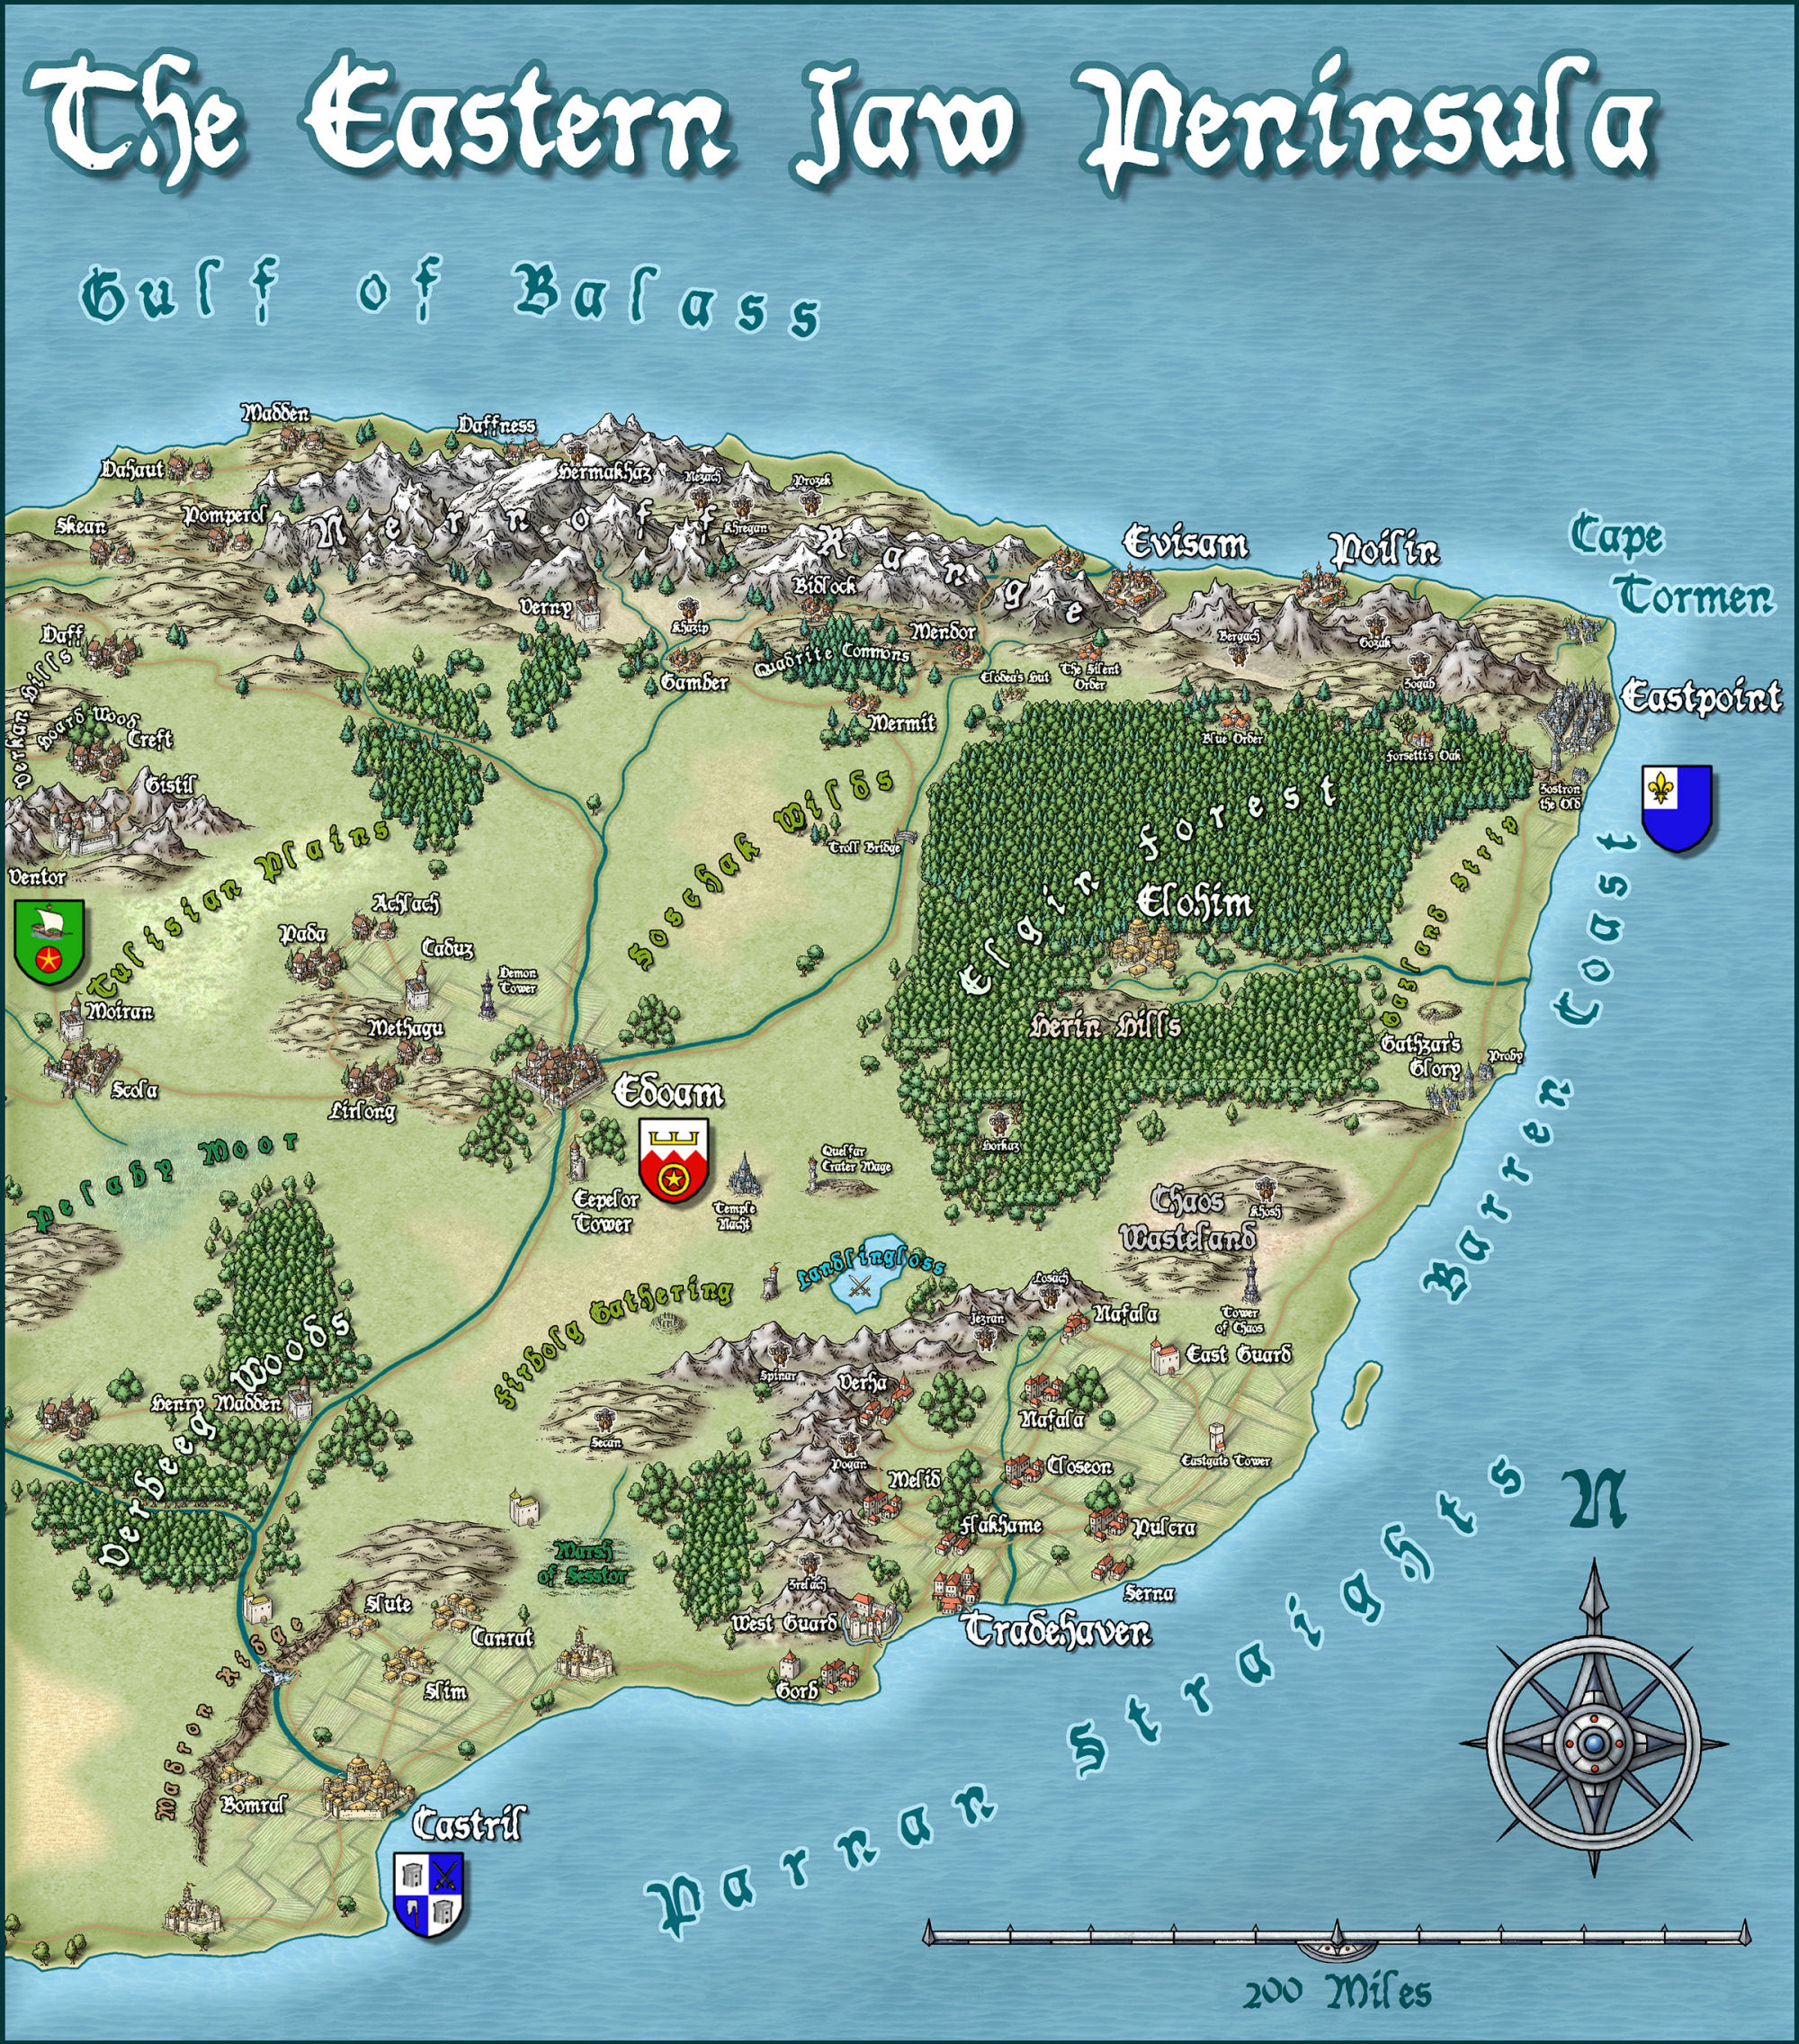
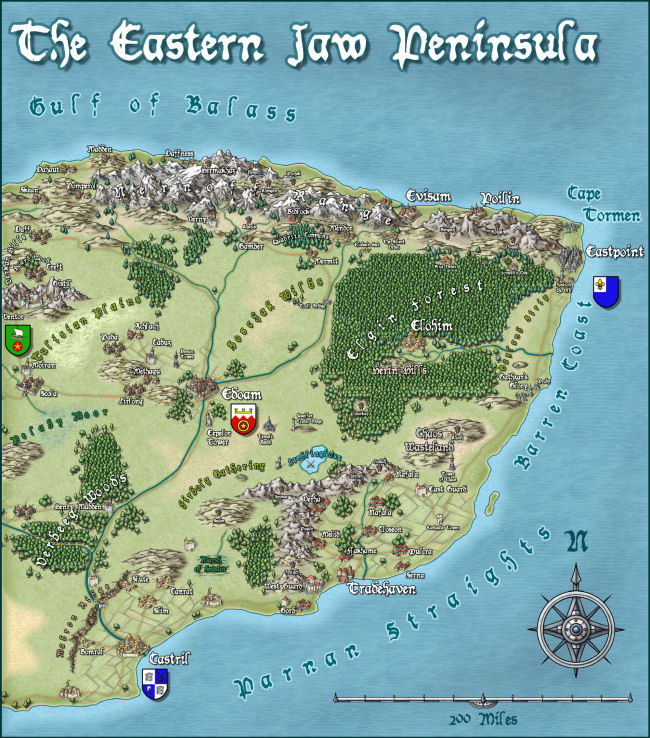
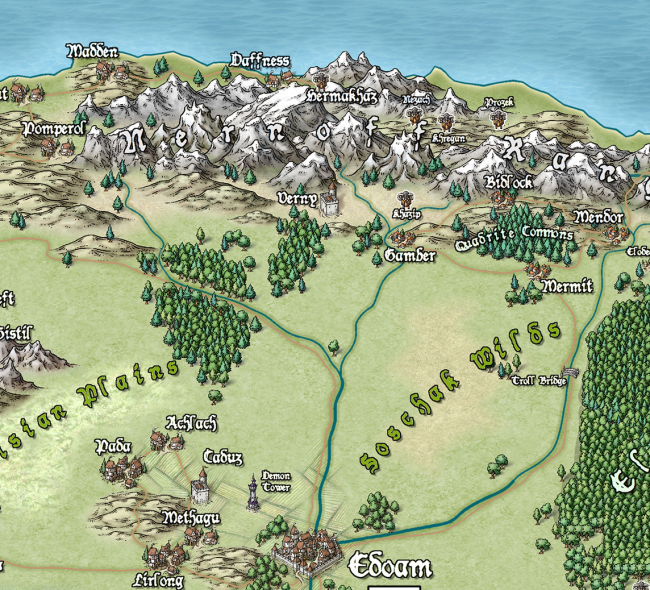
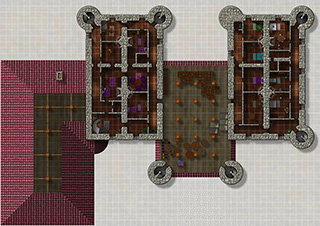
The very first example map we did with Campaign Cartographer was of my campaign setting, the Jaw Peninsula, and we intend to continue this tradition with CC3+. You can see the history of the map here and Ralf has rendered the eastern section of the map in his new style. Click the image for the full high-resolution map.
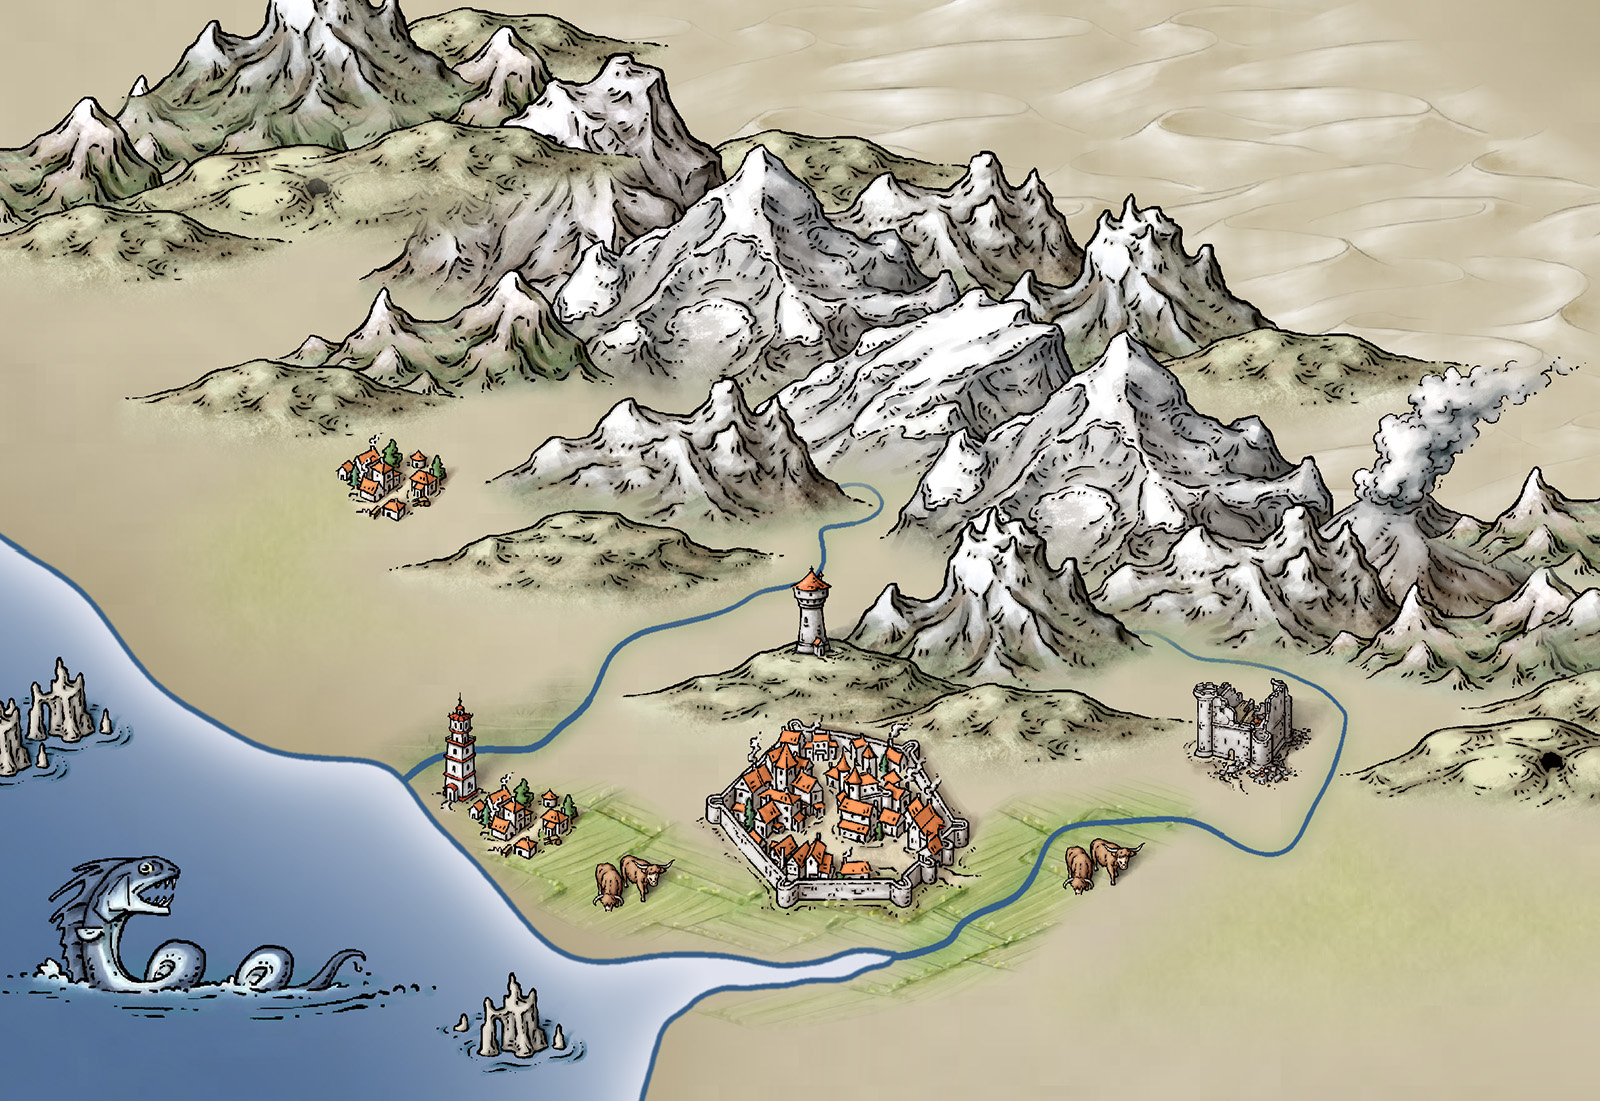
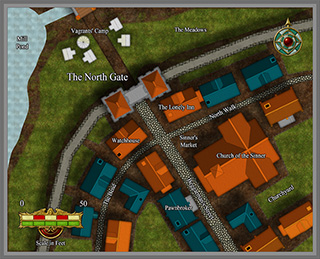
And here is a close up
And just to give you an idea of how detailed the symbols are – little works of art – here is a close up. Click for extreme close up.

2 Comments
Simon Rogers | December 23, 2013 |
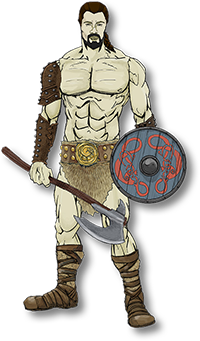
Character Artist 3 is out now!
Character Artist 3 lets you create attractive, high-quality portraits of characters for your games. When you’ve made your character, you can place a high-quality image onto your character sheet. You can add your portraits to counters, create silhouettes or make stand-up card figures.
Emails have gone out to all existing ProFantasy customers who haven’t opted out with a discount offer, an in addition, if you are an existing CC3 customer then until 1st January 2014, Character Artist 3 includes an upgrade to the next version of Campaign Cartographer 3 when it’s released in 2014.
CC3+, to be released in 2014, will be twice as fast as CC3, easier to use, and include a new map style and amazing effects.
Comments Off on Character Artist 3 Out Now
ralf | December 19, 2013 | city, hex maps, update
 There is a new update available for Campaign Cartographer 3. Update 11 brings CC3 up to version 3.43 and includes the following additions and changes:
- added CC3 Overland Hex mapping style including
– 2 templates (imperial and metric)
– 53 hex symbols in 8 catalogs
– 55 drawing tools
– 1 example map
– 1 5-page mapping guide
- added Character Artist 3 master filter functionality
- added metric versions of all CC3 template wizards
- added CC3 Basic City style including
– 2 templates (imperial and metric)
– 35 drawing tools
– 100 symbols
 – 1 example map
- improved Symbol Style Toggle handling
- removed SS1 style entries from CC3 master filters
- removed duplicate map notes in CC3 standard overland template
- replaced ImageMagick file Convert.exe with newer version
Check your CC3 version under Help > About in the menu. If it is less than 3.43, head over to your registration page and download CC3 Update 11 from among the CC3 downloads on the Products & Downloads tab.
1 Comment
ralf | December 4, 2013 | convention, Dragonmeet
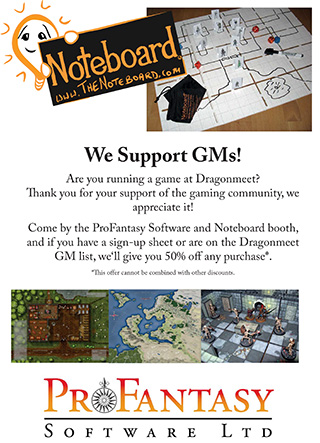 ProFantasy will be at Dragonmeet, London’s friendliest gaming convention, coming Saturday (December 7th). We are looking forward to a day of games, seminars, chat and general gaming goodness.
We are also doing a special offer to support all those people running public games at Dragonmeet. If you are a GM hosting a game at the convention you get 50% off any purchase of ProFantasy and Noteboard products.
If you want to hear myself (Ralf) talk about maps, paper minis, and the Noteboard, join the seminar “Multimedia in Gaming” (12pm to 12:30pm in the Council Chamber) which also features composer James Semple and artist Andrew Hepworth.
Comments Off on Dragonmeet
ralf | November 1, 2013 | Annual, hex maps, overland
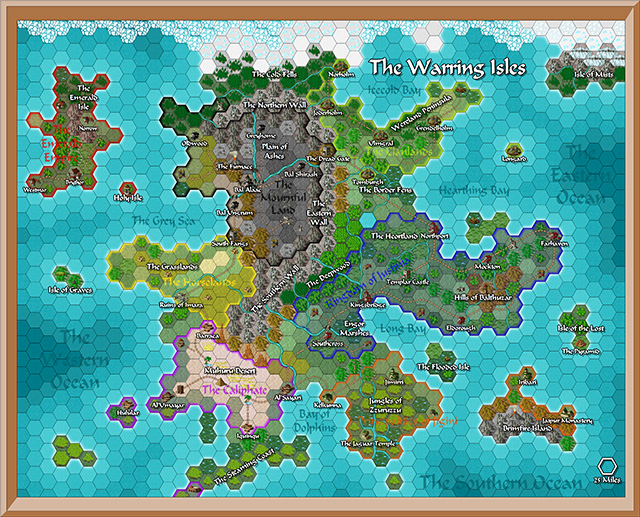
The latest Annual issue is now available for subscribers from their registration page. The November Annual consists of a new hex mapping style based on the Bitmap Overland style that comes with CC3.
Templates, symbols and tools allow you to create a hex-based setting map in minutes, giving you that old-school explorer feeling with modern graphics! Check out this sample map of “The Warring Isles”:
1 Comment
ralf | August 12, 2013 | convention, GenCon
The bags are packed, stock and supplied enroute, hectic activity is slowly giving way to contemplative travel mood… meaning GenCon is around the corner.
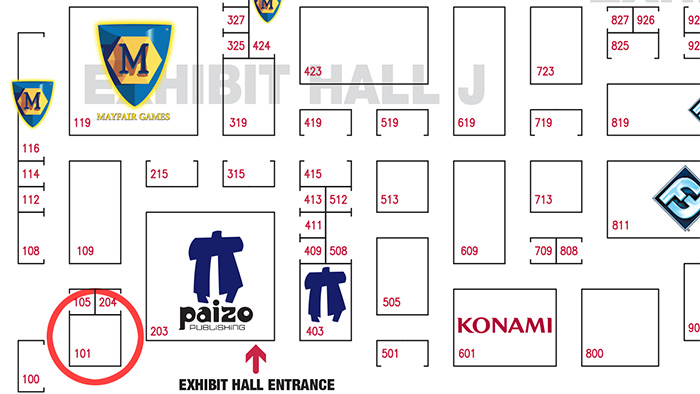
If you are one of the lucky visitors, come find us at booth (#101) directly across the big Paizo booth. We are sharing with our sister company Pelgrane Press. Stop by pick up the latest Annuals, any other products you might be missing, a demo of Character Artist 3 or just a quick chat about mapping.
Please bear with us if we respond a little more slowly in the coming days than usual. GenCon takes a lot of attention and energy.
Comments Off on GenCon looms
ralf | August 1, 2013 | Annual, Cosmographer, scifi
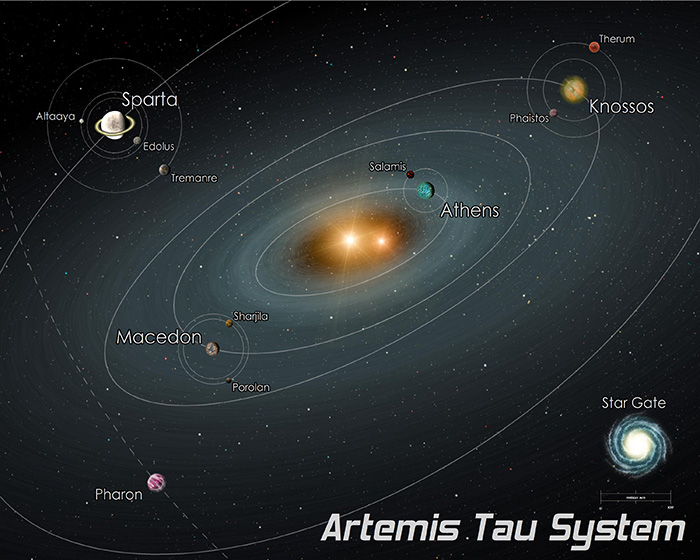
We have just released the August issue of the Cartographer’s Annual 2013. Check out the easy-to-use sci fi style for creating stunning star system charts. The bitmap artwork has been created by Joseph Sweeney of Storyweaver and you can use the style to create charts matching his High Space game maps.
Subscribers can download the issue from their registration page. If you haven’t subscribed to the Annual 2013, you can do so here.
2 Comments
ralf | July 1, 2013 | Annual, Par lindstrom
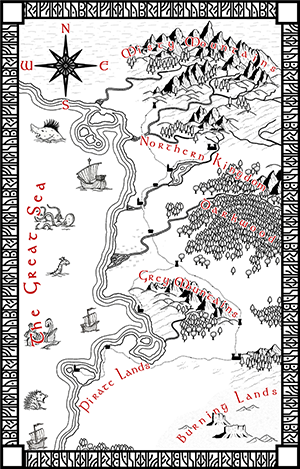 The July issue of the Cartographer’s Annual 2013 is now available. Check out Pär Lindström’s beautiful black & white overland style.
Subscribers can download the issue from their registration page. If you haven’t subscribed to the Annual 2013, you can do so here.
8 Comments
ralf | June 28, 2013 | Newsletter
 Dear Cartographers, welcome to the June newsletter!
News
Resources
Map-Making Articles
1 Comment
ralf | April 17, 2013 | Newsletter
Dear Cartographers, welcome to the April newsletter!
News
- The April issue of the Annual 2013 has been released. Subscribe here.
- Kobold Press is offering a discount on its Kobold Guide to World-Building and other products for Profantasy customers. Check the details and read an excerpt of the guide here.
- ProFantasy will be at RPC Germany in Cologne (June 2nd to 3rd) and Origins Games Fair in Columbus (June 13th to 16th).
Resources
Map-Making Articles
Comments Off on April – Kobold Worldbuilders and Cartographers