First buildings with effects on
Ok, we’re going to spend time today filling in a block section with houses. We’re going to be using the House command from CD3 extensively, so you should be an expert in it once we’re done.
The house command is in the ![]() upper left corner of your toolbar and looks like a roof seen from the top – a screen shot is to the right (you can see the “House” tooltip as well):
upper left corner of your toolbar and looks like a roof seen from the top – a screen shot is to the right (you can see the “House” tooltip as well):
We won’t spend a lot of time going through the different options, but I recommend that you review two sections of the online help (Help>Search):
- House Shapes: Good information about what each shaped house is, and the order CC3 expects corner points to be placed. Generally you will place two points that define the long axis of the roof, but the interpretation of the third point varies from shape to shape.
- Roof Types: Gables and styles of roofs.
Scrolls through the House settings part of the dialog to look at available styles. I recommend that once you have found a style you like, place one or two buildings and scroll out until the map is roughly the size that you will use. Some of the house styles have wonderful detail that looks great in-close, but which compresses to a black blob when you scroll out a long way.
I’m using the CD3 B Fantasy varicolor symbols. The roof lines look great at medium resolution, and I plan to not show the individual buildings when I am using a city-wide map. Varicolor means that the building will pick up the currently selected color – this gives you flexibility to change colors periodically to add some needed variation to the buildings.
Start with rectangular buildings – they are most common in real houses, and easiest to place.

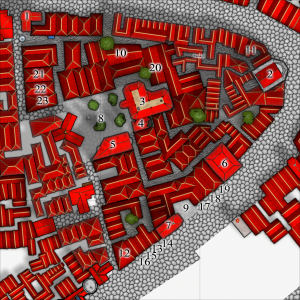
City block almost completely filled in
I like moving along a major road, placing one building after another. Here are some tips:
- For a medieval city, don’t worry too much about getting each building front exactly lined up with the buildings next to it – there will be variations in real life. But do use the “Parallel To (F11)” and “Perpendicular to (F12)” snaps (Tools>Snaps) to ensure that buildings square to the road or to each other.
- The roof line will run parallel to the first side you draw – so for most buildings you will want to put your first point at the street and the second point well back from the street so that the line is perpendicular to the street (the F12 snap is made for this – put your first point, press F12 and select the edge of the street, now your next point is constrained so the wall must be perpendicular to that street).
- If you are using varicolor symbols, set the color slightly darker than your landmark buildings and change the color a little from time to time. It will give your city a subtle but more realistic look.
- Use a small number of building types and roof types – it will make the city look more cohesive.
- Every building will need access to the road. Better establishments should have two ways to get to the road (e.g. a front door for visitors and a back door for trash and other things). Access can be circuitous, through an alley, but a building can’t be used if no one can get to it. But don’t worry too much if you block access to an occasional building. You have several ways to explain it:
- The building is no longer used.
- The building has been annexed (one of the adjoining buildings is connected through to it) or is associated with one of the nearby buildings and is accessed through it.
- There is a passageway – a covered street or entryway leads to the blocked building, the passage is just not visible on the map because it is under the other building’s roof.
-
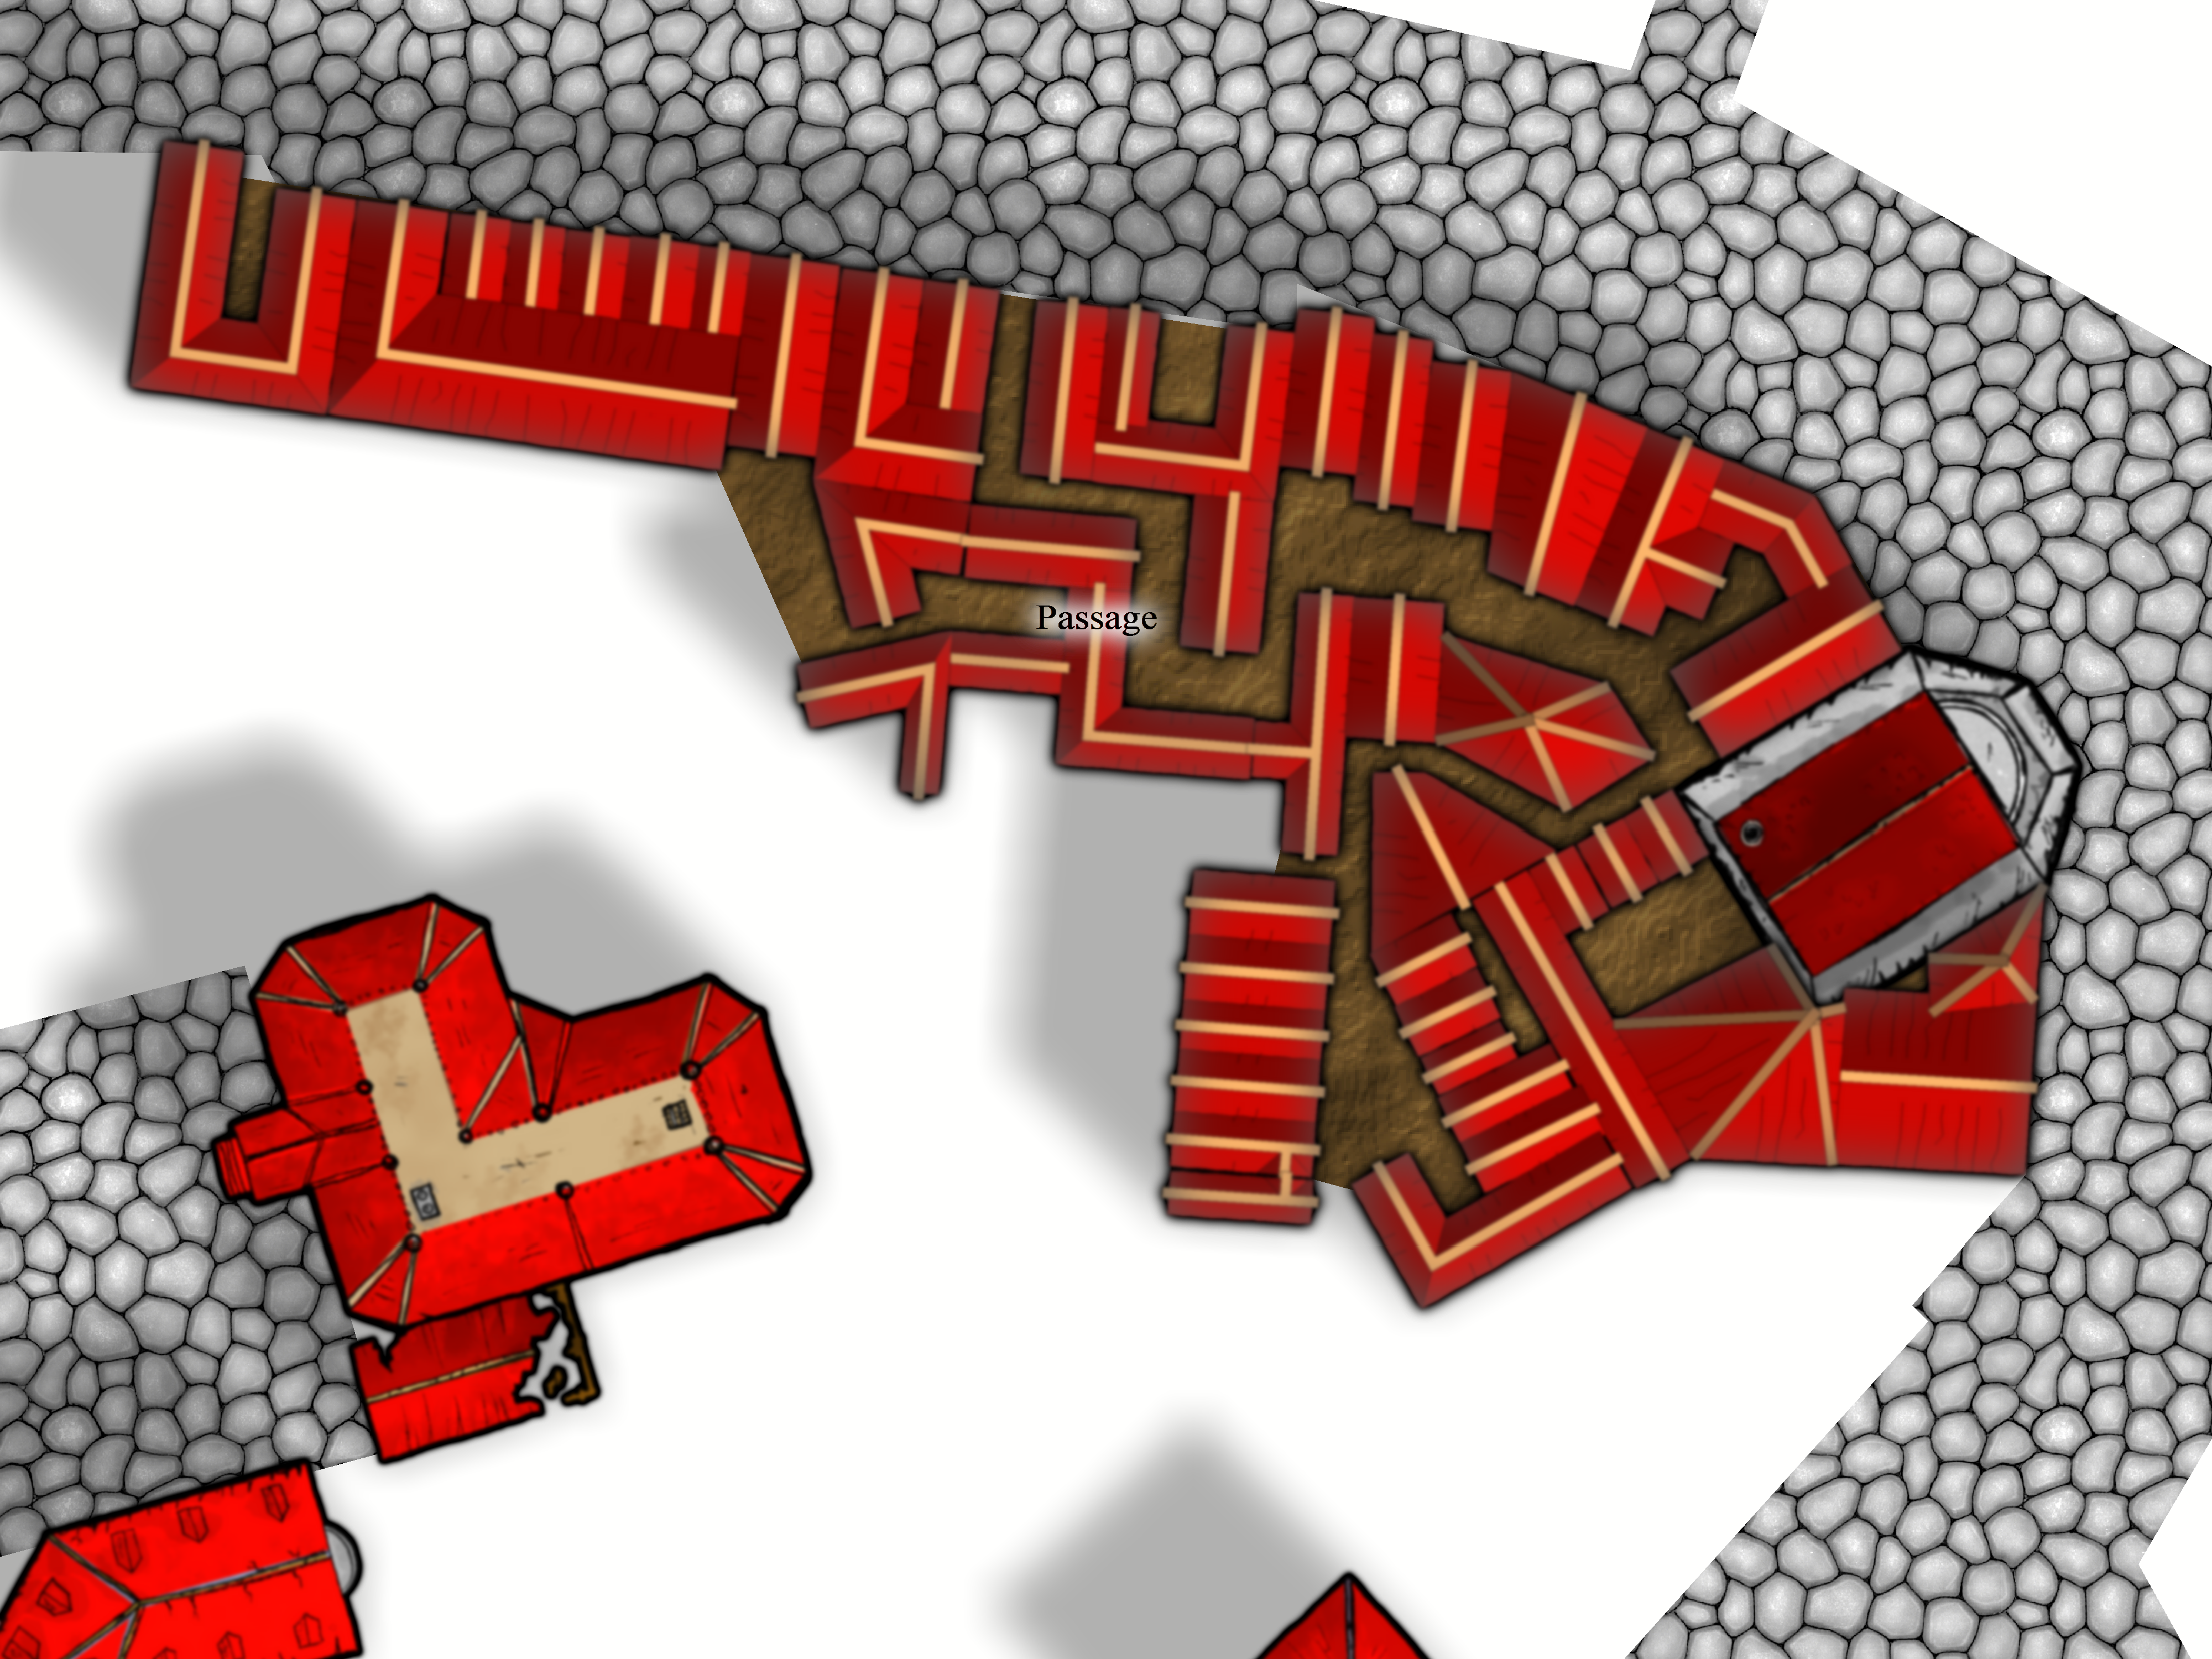
- Block with buildings filled in, some details and effects on
Work a little way down the street, then put a gap in the buildings. This will be aplace for an alley. Start putting buildings away from the street to continue defining that alley.
- If you followed the approach of roughing out each block, eventually you will find a situation where you have an irregular space. This is the perfect place for a V-shaped, Skewed rectangle (called a four-sided building in the dialog), or a many-sided building. These buildings are infrequent in a real city, so see if you can find a way to fill the space with one or more rectangular buildings. But if not, enjoy placing these unique buildings.
- Do put in occasional squares and open spaces, whether they have trees in them or not. Even if these are in back alleys, they will visually break up the city sections.
- Save often. I like to use “Save As” with a file name that ends with a number – each time I save I add one to the trailing number. That way if something goes wrong (artistically or technically), I have something to return to. Save often enough that you could endure losing work, e.g. if you can endure losing your last 15 minutes of work, you can back up every 15 minutes.

Next time we will fill in a few more details in this section and talk about rendering effects – they turn the most mundane map into something wonderful. Then for a break we will turn to mapping some sections outside the city wall, where the CD3 automatic tools really can shine.
The City Mapping Series
Part 1: Location, Location, Location
Part 2: Urban Planning
Part 3: Laying out Districts
Part 4: Districts in CC3
Part 5: Sizing Buildings
Part 6: Filling Blocks in CC3
Part 7: Houses Galore!
Part 8: Outside the Gates
Fantastic work! Can’t wait to get my hands on it.
Thanks for your kind words! If you have CC3, the City Designer add-on is well worth it for building cities.
Steve