Originally posted on mappingworlds.wordpress.com
In this post we will create the outskirts of the city, farmlands and the ruins. First of all you have to decide what parts of the city that will be farmland and what part will be ruins. In this map I wanted to create the feeling that the city is situated in the middle of an old ruined city. The two closest islands to the east and west of the city will consist of farmland. Those areas are close to the city and will be easy to protect as well. On the north part of the western island you can also see that a part of the old city wall has been taken into use again, to protect the city from whatever hides outside.
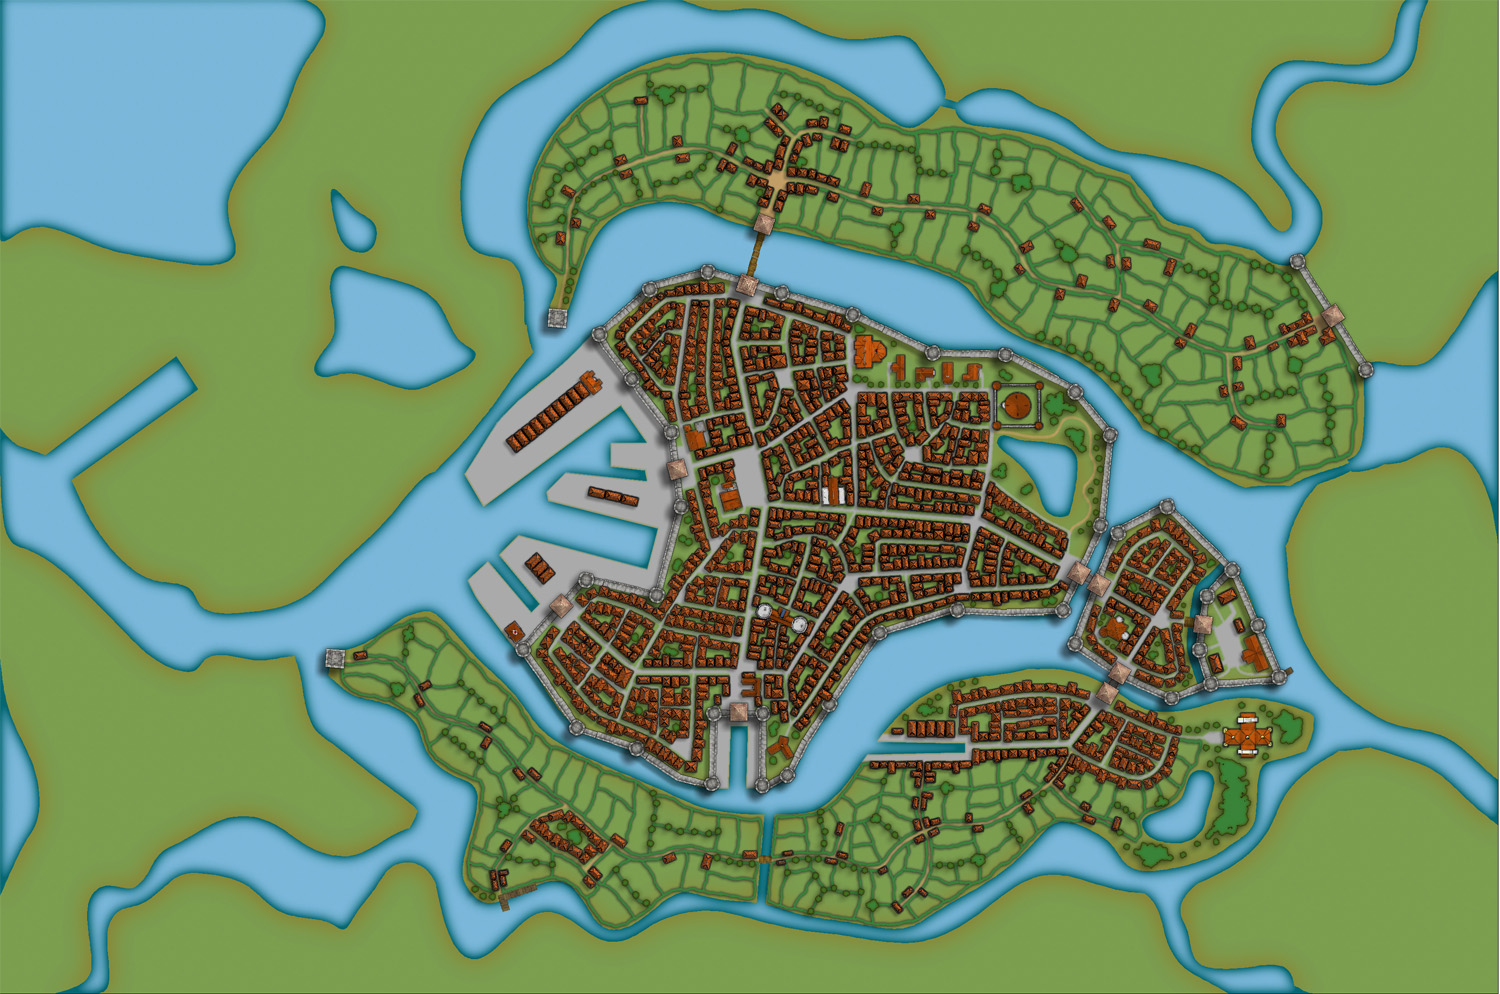
When I create farmland I always start by putting in all the roads and houses. Usually you will have a cluster of houses just outside the city gates, the further away you get from the gates the more space you will have between houses. I then select the city hedge drawing tools and start to mark out the area where the fields will be. I’m actually using the same technique here as I do when I’m making smaller towns. For a more thorough explanation on how I draw the fields see my Mapping a small town part 4 post over at my mappingworlds blog.
When I’m done with all the fields the map looks like the picture below, so still some ruins to place.
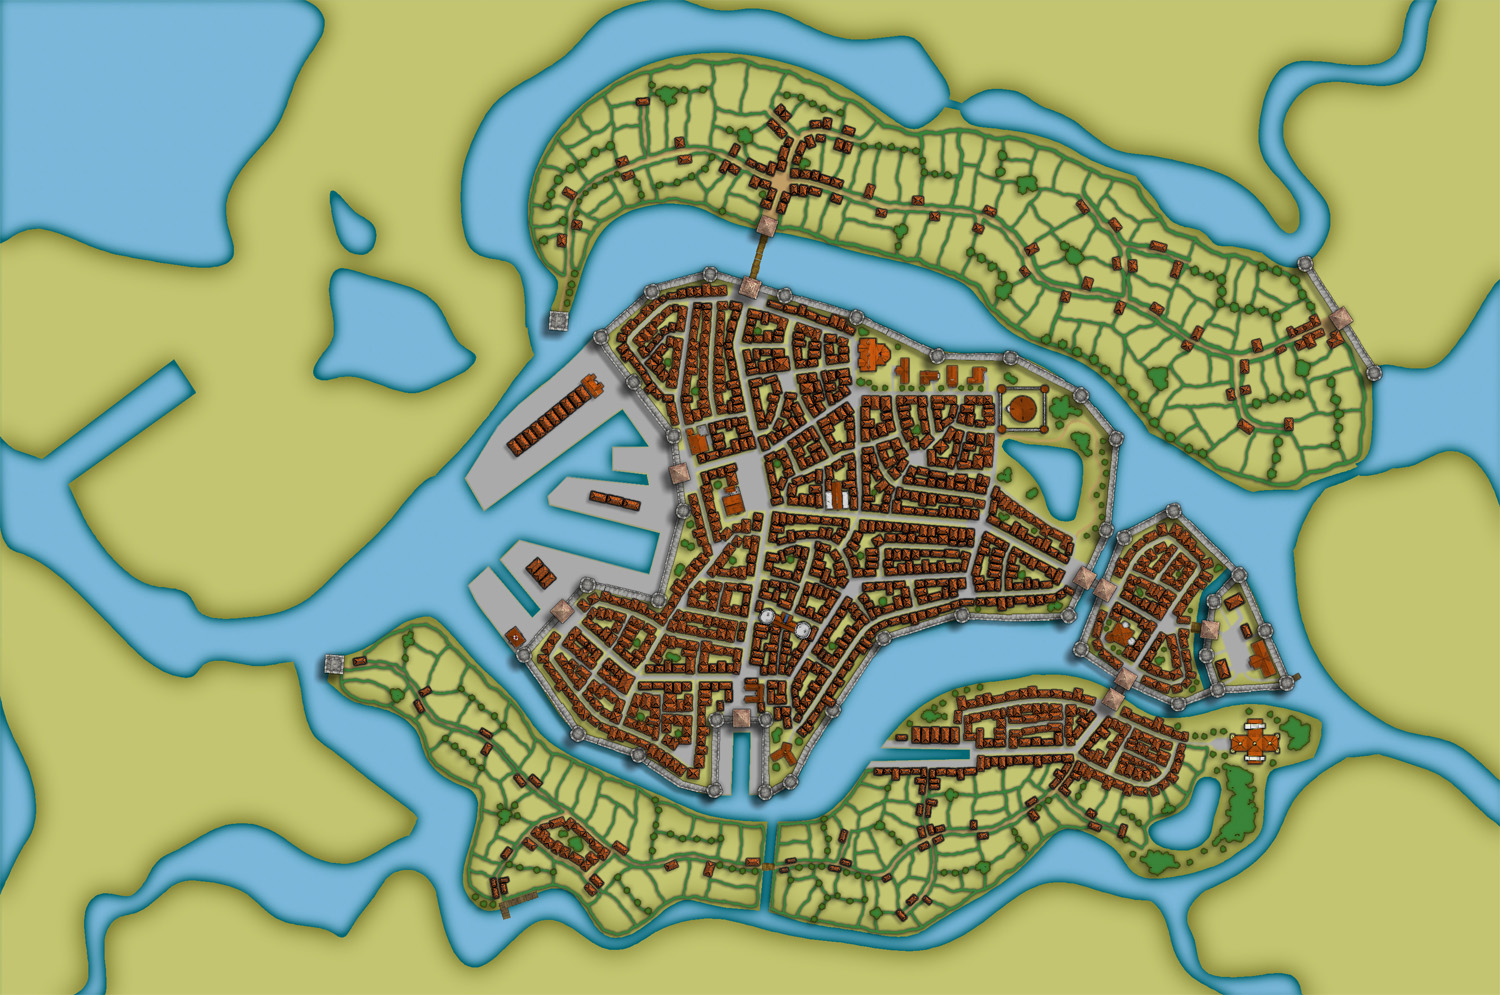
To complete the fields in the map I also export a map from CD3 where all the land is yellow. In this way I can combine them in Photoshop and paint in some yellow fields among the green ones. This will give you a more natural look than if the fields are just green. See my Mapping a small town part 6 post for more info on how to do this. The yellow version of the map looks like the picture below.

You can of course add in all the yellow fields in CD3, but I’ve found that to be a lot more time consuming then doing it by combining the two pictures above in a third party program. This program doesn’t need to be Photoshop, use the program that you feel comfortable with.
The next step would be to add in some ruins in the picture. Here I must say that CD3 didn’t really have any good styles to work with to get the look I wanted, so I had to make something up myself. Creating a completely new style wasn’t something I felt I had the time or knowledge to do, but I think a good ruined city style would be a great style add on in a future Annual. Sure you have some ruins in the program that you can use, but for me a ruined city mainly consists of the foundations of the houses and maybe some larger, more intact, buildings.
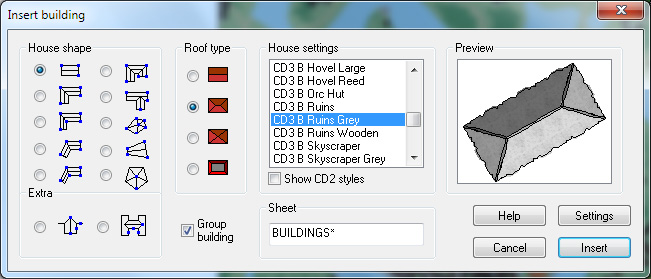
So I decided to draw in some random roads and houses using the CD3 B Ruins Grey buildings. They’re not perfect, but they are a good base symbol to continue working from.
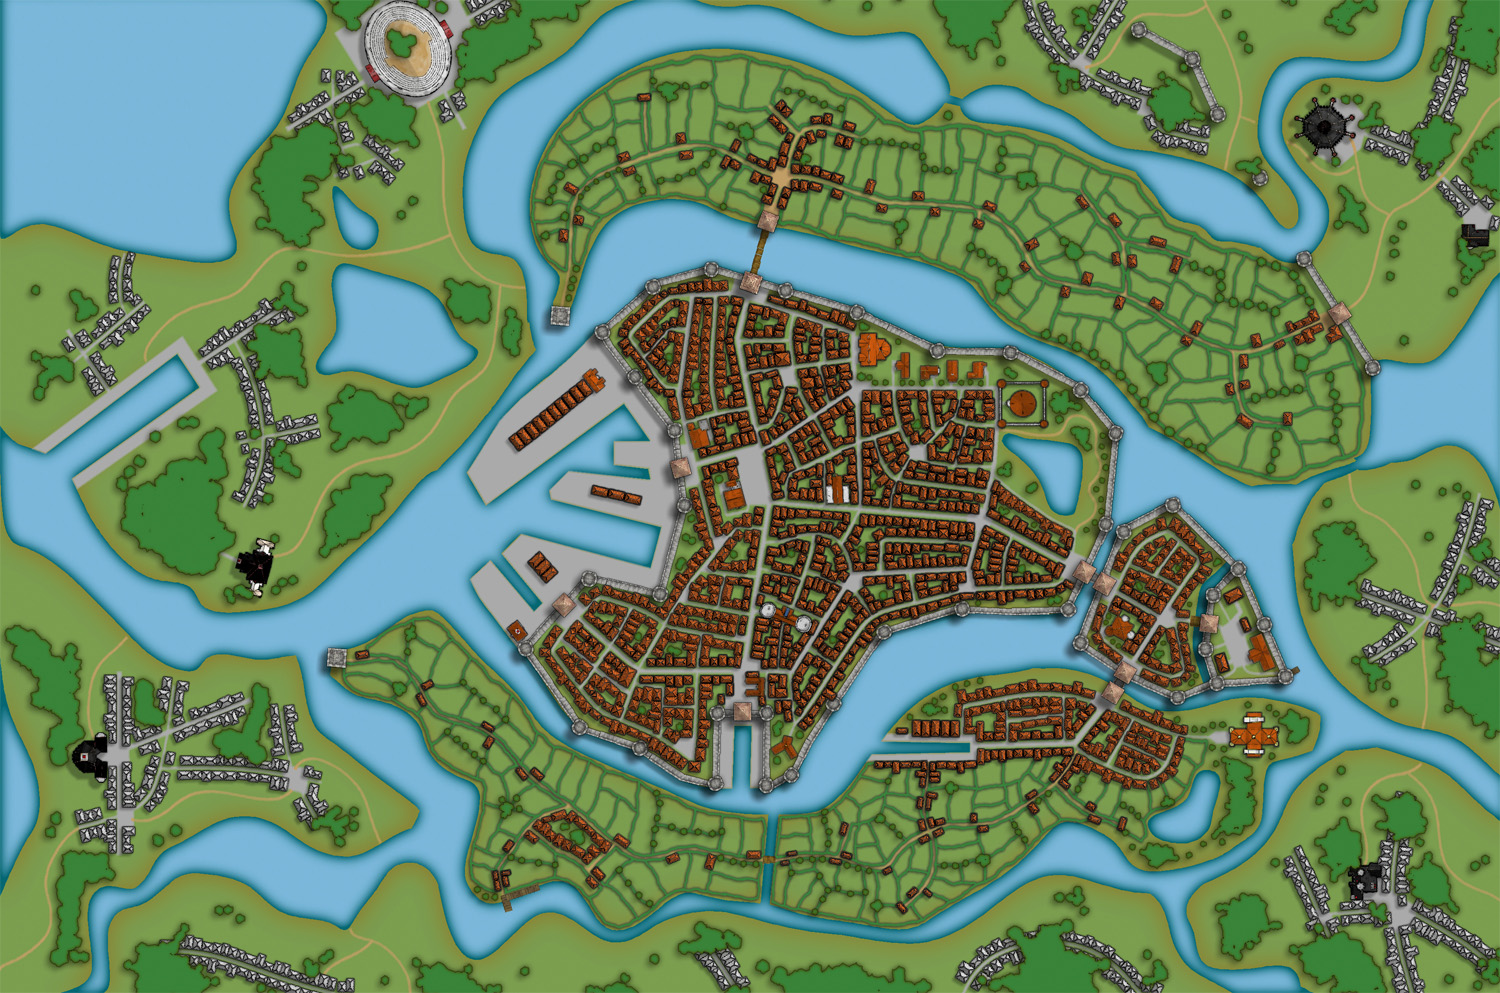
When I’ve put in all the roads and larger buildings in the map I’d export it again from CD3. This means that I now have three different versions of the map, which I’m going to put together in Photoshop, the two different ones with yellow and green fields and this one with a green background and ruins in the outskirts of the city.

At this stage I had to work on the ruins a bit in Photoshop to make them look more like ruins. If you put the map with ruins in one layer and put it on top of a layer consisting of the map with green fields. You can start to erase bits and pieces from the top layer, when you do this the layer below will be visible instead of the top one. In this way I erased all the inner parts of the buildings, which left something that looked more like the foundation of a house. I also erased parts of the larger buildings to make them look more like ruins with broken roofs and missing walls.

In the picture above you can see a part of the map where you have the ruins as they look in CD3 on the left side, and how they turned out after some editing in Photoshop on the right side. In my opinion the right side looks more like ruins then the left side. Or at least more like the ruins I wanted in this particular map.
Making a City part 1
Making a City part 2
Making a City part 3
Making a City part 4


HI, how you do to obtain this results with photoshop please..it’s wonderful
Thx